
🍭+94 Candy Cane🍬 Nail Designs: Sweet and Playful Patterns for Festive Nails🎄💅
Candy cane nail designs are a sweet and playful way to add a festive touch to your nails during the holiday season. Whether you’re attending a holiday party or simply want to show off your holiday spirit, candy cane nails are a fun and eye-catching choice. In this article, we will explore the history of candy cane nails, tips for choosing the perfect design, and a step-by-step guide to creating your own candy cane nail art.
Key Takeaways
- Candy cane nails have a long history and have evolved over time.
- Matching your nail shape to candy cane designs can enhance the overall look.
- Experimenting with different color combinations can create unique and festive candy cane nails.
- Prepping your nails properly is essential for a long-lasting candy cane design.
- Adding festive accents like glitter or rhinestones can take your candy cane nails to the next level.
The History of Candy Cane Nails

The Origins of Candy Cane Nails
Candy cane nails have a fascinating history that dates back to ancient times. The concept of using candy cane patterns on nails can be traced back to early civilizations, where people would decorate their nails with vibrant colors and intricate designs. These early nail art designs were often created using natural pigments and dyes, showcasing the creativity and artistic skills of individuals.
Evolution of Candy Cane Nail Designs
The evolution of candy cane nail designs has brought about a wide range of creative and festive options. From simple red and white stripes to intricate patterns and designs, there are endless possibilities for expressing your holiday spirit through your nails. Nail artists have taken the classic candy cane motif and transformed it into a variety of nail design ideas that are both fun and stylish.
Choosing the Perfect Candy Cane Nail Design

Matching Your Nail Shape to Candy Cane Designs
When it comes to matching your nail shape to candy cane designs, it’s important to consider the overall look you want to achieve. Candy cane nail designs can be versatile and work well with different nail shapes. However, certain shapes may enhance the design more than others.
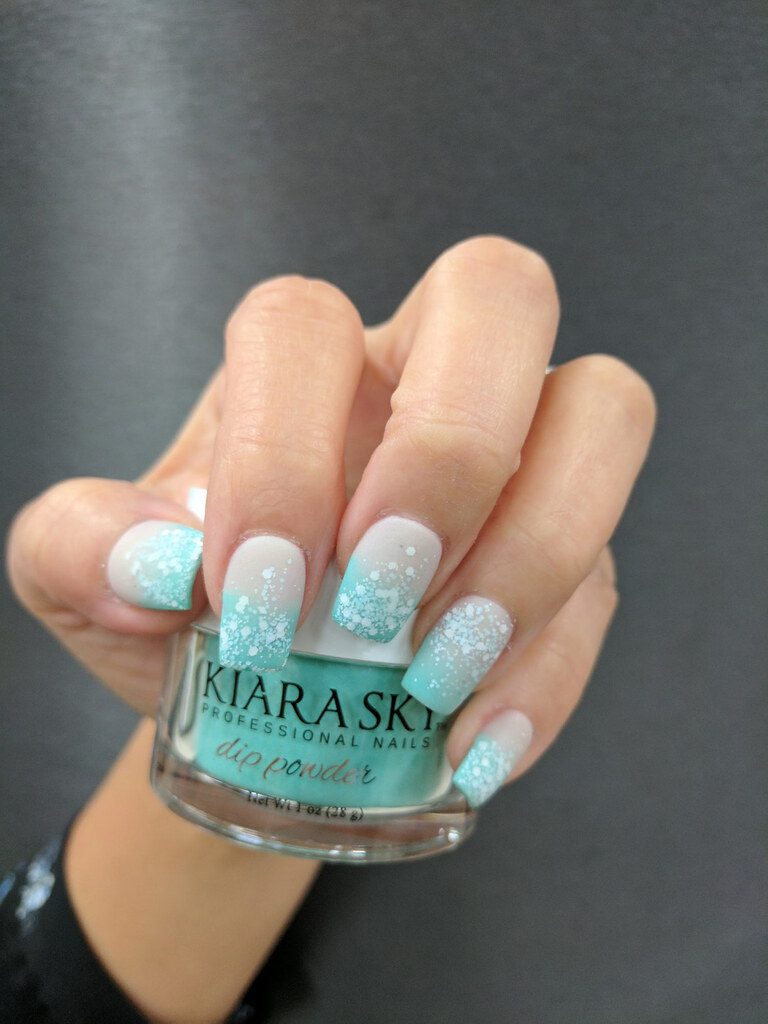
For those with shorter nails, a square or round shape can be a great choice. These shapes provide a clean canvas for the candy cane stripes to stand out and create an impressive nail art. On the other hand, if you have longer nails, you can experiment with more intricate designs and shapes, such as stiletto or almond. These shapes allow for more creativity and can make your candy cane nails truly unique.
Remember, the key is to choose a nail shape that complements the candy cane design and suits your personal style. Whether you prefer a classic or bold look, there’s a candy cane nail design that will suit your taste and make a statement.
Color Combinations for Festive Candy Cane Nails
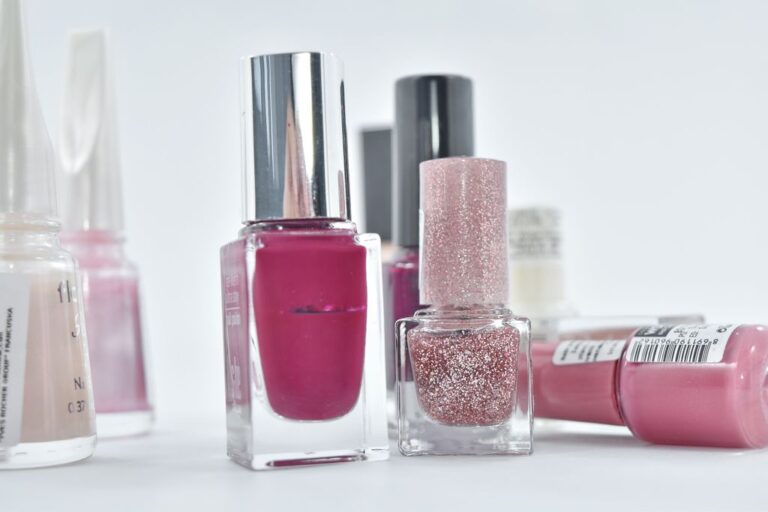
When it comes to creating festive candy cane nail designs, color combinations play a crucial role in achieving the desired look. The right combination of colors can make your nails stand out and add a touch of holiday cheer to your overall appearance. Creative nail designs are all about experimenting with different color combinations and patterns to create unique and eye-catching looks. Here are some popular color combinations that you can try for your candy cane nails:
Step-by-Step Guide to Creating Candy Cane Nail Art

Prepping Your Nails for Candy Cane Designs
Before you start creating your candy cane nail art, it’s important to properly prep your nails. This will ensure that your design lasts longer and looks flawless. Start by removing any old nail polish using a gentle nail polish remover. Then, trim and shape your nails to your desired length and shape. If you prefer shorter nails, opt for a square or rounded shape. For longer nails, you can try an almond or stiletto shape for a more dramatic look. Next, gently push back your cuticles using a cuticle pusher or a wooden stick. This will create a clean canvas for your candy cane design.
Creating Candy Cane Stripes with Nail Polish
Creating candy cane stripes with nail polish is a key step in achieving the festive and playful look of candy cane nail designs. To create the perfect candy cane stripes, start by applying a base coat of white nail polish to your nails. This will provide a clean canvas for the stripes and help the colors pop. Once the base coat is dry, use a thin striping brush or a toothpick to carefully apply red nail polish in diagonal stripes across each nail. Make sure to leave some space between the stripes to mimic the look of a candy cane. For a more intricate design, you can also add a second set of diagonal stripes in a contrasting color, such as green or gold. Finish off the look with a glossy top coat to seal in the design and add shine.
Adding Festive Accents to Your Candy Cane Nails
Once you have created the perfect candy cane stripes on your nails, it’s time to add some festive accents to complete the look. These accents will enhance the overall design and make your nails stand out even more. Here are a few ideas to consider:
-
Glittery Tips: Apply a coat of glitter nail polish to the tips of your nails for a touch of sparkle. This will add a glamorous and eye-catching element to your candy cane nails.
-
Holiday Stickers: Decorate your candy cane nails with holiday-themed stickers. Choose stickers that feature snowflakes, Christmas trees, or other festive symbols. Simply apply the stickers to your nails and seal them with a clear top coat.
-
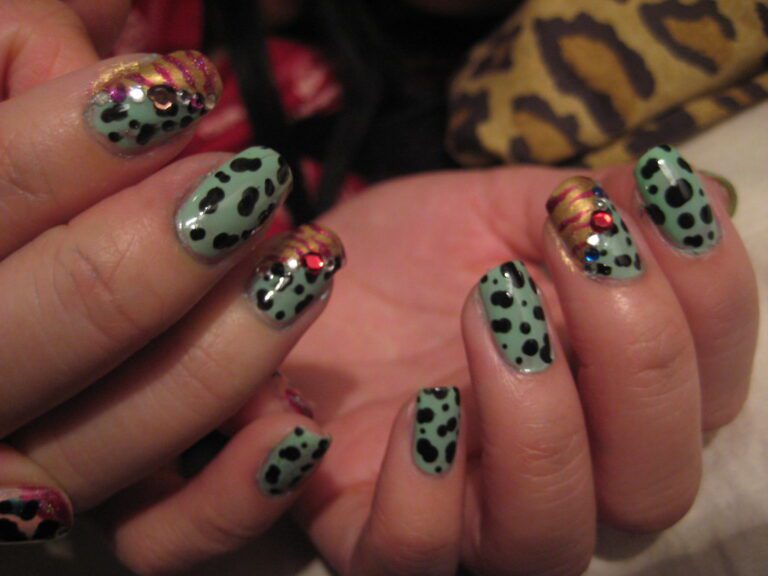
Jeweled Embellishments: Add some bling to your candy cane nails by applying small jeweled embellishments. You can place them along the edges of the candy cane stripes or create a pattern with the jewels. This will give your nails a trendy and luxurious look.
-
Nail Art Pens: Use nail art pens to create intricate designs on your candy cane nails. Draw small snowflakes, holly leaves, or other holiday-themed images. This will add a personalized touch to your nails and showcase your creativity.
Remember, the key is to have fun and experiment with different accents to find the ones that suit your style and preferences. Don’t be afraid to get creative and make your candy cane nails truly unique!
Are you looking to create a festive and fun nail art design? Look no further! Our step-by-step guide to creating candy cane nail art will help you achieve the perfect holiday look. Whether you’re a beginner or a nail art pro, our detailed instructions and tips will make it easy for you to create stunning candy cane nails. Visit NAILinspire.com, the ultimate online nail art design library, for more inspiration and tutorials. Don’t miss out on the chance to show off your festive spirit with this adorable nail art design!
Frequently Asked Questions
1. How long does candy cane nail art last?
Candy cane nail art can last for about 1-2 weeks with proper care and maintenance.
2. Can I do candy cane nail art on natural nails?
Yes, candy cane nail art can be done on natural nails. Make sure to properly prep your nails before applying the design.
3. Can I use gel polish for candy cane nail art?
Yes, gel polish can be used for candy cane nail art. It provides a long-lasting and glossy finish.
4. How do I remove candy cane nail art?
To remove candy cane nail art, soak a cotton pad in nail polish remover and place it on the nail. Wrap the nail with aluminum foil and let it sit for about 10-15 minutes. Gently remove the foil and cotton pad, and the nail art should easily come off.
5. Can I add glitter to my candy cane nail design?
Yes, you can add glitter to your candy cane nail design to make it more festive and sparkly. Apply the glitter on top of the candy cane stripes or as an accent nail.
6. How can I make my candy cane nail art last longer?
To make your candy cane nail art last longer, apply a top coat every few days to protect the design and prevent chipping. Avoid activities that may cause excessive wear and tear on your nails.


