“Behind the Scenes: The Process of Getting Nails Done”
The process of getting nails done is an intricate and artistic experience that involves various stages, from consultation to the finishing touches. Each step requires precision, skill, and attention to detail to achieve flawless and long-lasting results. Let’s take a closer look at the behind-the-scenes process of nail care and design.
Key Takeaways
- Consultation is essential for understanding the client’s needs and preferences.
- Sanitization and hygiene practices are crucial for a safe and clean nail care environment.
- Quality materials and proper application techniques are the foundation of flawless nail art.
- Intricate designs and embellishments require creativity, precision, and attention to detail.
- Proper aftercare is essential for maintaining the beauty and durability of freshly done nails.
The Art of Consultation

Assessing Client Needs
The initial step in the nail service process is to thoroughly understand the client’s desires and expectations. This involves a detailed conversation where the nail technician asks questions about the client’s lifestyle, preferences, and any concerns they may have with their nails. It’s crucial to determine whether the client is looking for a simple, low-maintenance look or something more elaborate and eye-catching.
- Lifestyle considerations: Work environment, daily activities, and special events.
- Aesthetic preferences: Color choices, matte or glossy finishes, and design complexity.
- Nail concerns: Issues such as brittleness, breakage, or previous allergic reactions.
Tip: Always consider the client’s daily routine when suggesting nail styles, as practicality is as important as beauty. A well-informed decision on nail services not only ensures satisfaction but also promotes the longevity of the nail work.
Choosing the Right Style and Shape
Selecting the perfect nail style and shape is a pivotal step in the nail care process. It’s not just about aesthetics; the right choice can enhance the natural beauty of the client’s hands and complement their lifestyle. For instance, an active individual might prefer a short, natural shape that’s less prone to breaking, while someone looking for a bold statement might opt for a stiletto or coffin shape.
When considering the various options, it’s important to take into account the client’s nail bed width, finger length, and personal style. Here’s a quick guide to some popular shapes:
- Oval: Elongates fingers, suits most nail types.
- Round: Simple and natural, ideal for shorter nails.
- Square: Offers a classic, clean look with strong sidewalls.
- Almond: Feminine and delicate, making fingers appear longer.
- Coffin/Ballerina: Trendy and edgy, requires length to achieve.
- Stiletto: Dramatic and bold, not for the faint-hearted.
Tip: Always consider the client’s daily activities and maintenance commitment when advising on nail shapes. Durability and practicality are just as important as the visual appeal.
Ultimately, the goal is to ensure that clients leave the salon feeling confident and satisfied with their nails. By providing expert guidance and considering all aspects of their lifestyle, nail technicians can create a look that’s both beautiful and functional.
Understanding Nail Health
Nail health is a critical aspect of the manicure process, often overlooked in favor of aesthetics. However, the condition of one’s nails can significantly impact the overall outcome and longevity of the nail service. A thorough evaluation of nail health should address potential issues such as brittleness, discoloration, and signs of fungal infections.
Proper nutrition and hydration are essential for maintaining strong, healthy nails. Incorporating a balanced diet rich in vitamins and minerals can promote nail growth and prevent common problems. For instance, biotin and omega-3 fatty acids are known to enhance nail strength and moisture levels.
Tip: Regularly moisturizing the nails and cuticles with oils or creams can prevent cracking and splitting, ensuring a better base for nail polish application.
It’s also important to consider the client’s daily activities and any chemicals they may be exposed to, as these can affect nail health. Wearing gloves during cleaning and avoiding harsh nail care products can help protect the nails from damage. By prioritizing nail health, technicians can ensure a more successful and satisfying nail service for their clients.
Preparation and Nail Care

Sanitization and Hygiene Practices
In the realm of nail care, sanitization and hygiene are paramount to ensuring a safe and healthy experience for both the client and technician. Hand hygiene stands as a critical defense against the spread of infections. Utilizing hand sanitizers, particularly when soap and water are not readily available, is an effective measure to maintain cleanliness.
- Proper cleaning and disinfecting of surfaces* are essential steps that must be performed before and after each client’s appointment. This includes the meticulous cleaning of nail stations, tools, and equipment. Disposable items offer an additional layer of protection and should be used whenever possible.
Remember: Consistency in hygiene practices is key to preventing cross-contamination and protecting the well-being of clients.
The use of high-quality materials and adherence to strict hygiene protocols are not only best practices but are also indicative of a salon’s commitment to excellence in nail care.
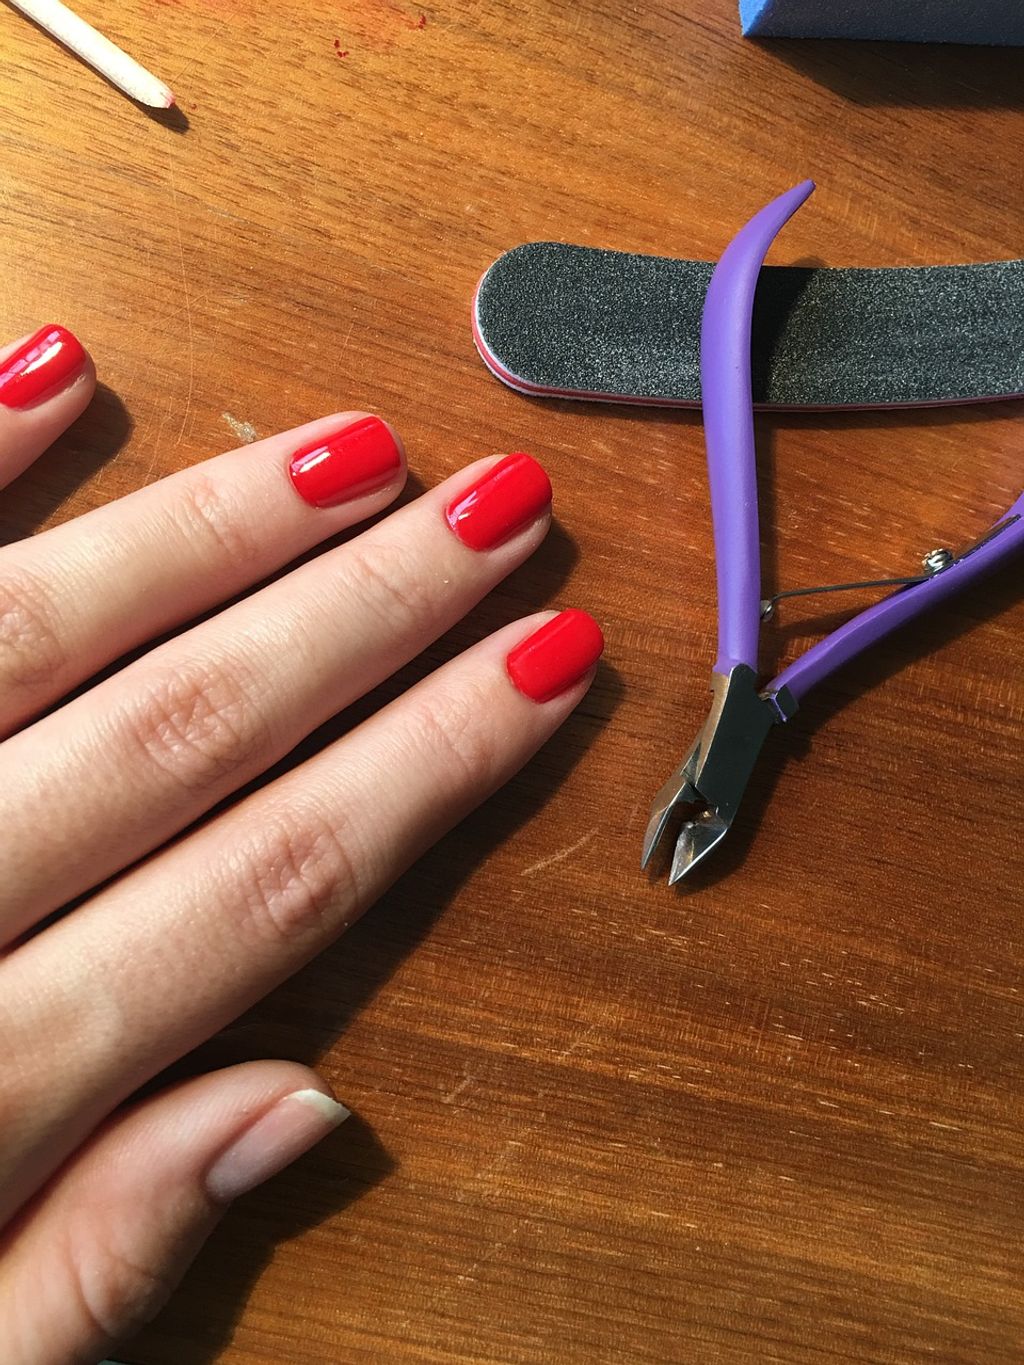
Nail Trimming and Shaping
Proper nail trimming and shaping are essential for creating a polished look. The process begins with selecting the right tools, such as a sturdy pair of nail clippers or a fine-grade nail file. It’s important to trim the nails to an appropriate length, ensuring they are neither too long nor too short, which can affect both appearance and comfort.
When shaping the nails, consider the natural curve of the client’s nail bed. A variety of shapes are possible, from classic rounds to trendy stilettos. Each shape may require a different technique and approach. For instance, achieving a perfect square edge involves filing in a straight direction, while oval shapes require a more angled technique.
- Remember: Always file nails in one direction to prevent splitting and damage.*
Here’s a simple guide to nail shaping:
- Start by trimming the nails to the desired length.
- Choose a shape that complements the client’s fingers and nail beds.
- Use a nail file to refine the edges and smooth any rough areas.
- Check for symmetry and make any necessary adjustments.
The goal is to create a harmonious balance that enhances the overall hand aesthetic, providing a strong foundation for subsequent nail treatments.
Cuticle Care and Skin Preparation
Proper cuticle care and skin preparation are essential steps in achieving a polished and professional nail finish. The cuticles serve as a protective barrier for the nail bed, and their maintenance is crucial for preventing infections and ensuring healthy nail growth.
Cuticle care begins with softening the cuticles using a specialized solution or warm water soak. Once softened, the cuticles can be gently pushed back and any excess non-living tissue can be carefully removed. It’s important to avoid cutting the cuticles, as this can lead to damage and potential infection.
Skin preparation involves cleansing and moisturizing the hands and nails. This not only improves the appearance of the hands but also creates a clean canvas for the nail technician to work on. A quality hand scrub can be used to exfoliate dead skin cells, followed by a hydrating lotion to replenish moisture.
Tip: Always use a gentle touch when dealing with cuticles and skin to prevent any unnecessary irritation or injury.
The Foundation of Flawless Nails

Applying the Base Coat
After applying the base coat, it is essential to ensure that the edges of the nails are well-sealed. This step helps in preventing chipping along the tips of the nails, resulting in a longer-lasting manicure. Paying attention to this detail can significantly improve the durability of the nail polish.
Selecting Quality Materials
The selection of quality materials is crucial for ensuring the longevity and aesthetic appeal of a manicure. High-grade products not only enhance the nail’s strength but also provide a superior finish that clients adore. It’s essential to choose materials that are compatible with the client’s nail type and the desired outcome.
Polishes and gels should be free from harmful chemicals such as formaldehyde, toluene, and DBP, which can compromise nail health. A well-curated selection of colors and finishes allows for a versatile range of designs, catering to every client’s taste. Additionally, investing in a good quality UV or LED lamp is imperative for a flawless cure.
Tip: Always test new materials on a small scale before fully integrating them into your service offerings. This ensures compatibility and client satisfaction.
When it comes to tools, durability and precision are key. Items such as nail files, cuticle pushers, and clippers should be made from materials that maintain their effectiveness over time. For instance, a stainless steel cuticle nipper offers both longevity and precision for ingrown nail care.
The Role of Nail Primer
Nail primer plays a pivotal role in the longevity and adhesion of nail polish and artificial enhancements. It is designed to prepare the nail bed by removing unwanted oils and moisture, creating an ideal surface for products to cling to. This step is crucial for preventing peeling and lifting of the nail color or extensions.
Quality nail primers not only cleanse but also help in balancing the pH level of the nail, which further promotes adhesion. Here’s a simple list to understand the benefits of using a nail primer:
- Ensures better adhesion of nail polish or artificial nails
- Prevents lifting and peeling
- Balances the pH level of the nail
- Can fill ridges and smooth out the nail surface
Remember: A thin layer of primer is sufficient. Applying too much can lead to a compromised foundation, affecting the overall finish of the manicure.
Color Application Techniques

The Secrets to Even Layers
When it comes to achieving even layers of nail polish, it’s essential to apply thin coats for a flawless finish. Thin layers not only dry faster but also provide better coverage and durability. To ensure the best results, consider the following tips:
- Use a high-quality base coat to create a smooth canvas for the polish.
- Apply the color polish in thin, even layers to prevent chipping and ensure even coverage.
- Finish with a top coat to seal the color and add extra shine and protection.
Remember, the key to long-lasting and beautiful nail color is the application of thin, even layers.
Mastering the Art of Nail Painting
Mastering the art of nail painting requires precision and skill. It’s essential to apply the polish in thin, even layers to achieve a flawless finish. Additionally, using a high-quality brush and practicing a steady hand are crucial for perfecting this technique. To ensure long-lasting results, consider the application of a top coat to seal and protect the polish. Remember, patience and attention to detail are key in achieving professional-looking nail art.
Curing the Polish: UV vs LED
When it comes to curing the polish, there is an ongoing debate between UV and LED nail lamps. Both styles have their advantages, but the main difference lies in the curing time. UV lamps require a slightly longer curing time, while LED lamps cure the gel faster. This difference is due to the energy production method. LED lamps use diodes to produce UV energy, resulting in a faster curing process. Here’s a comparison of the curing times for UV and LED nail lamps:
| Lamp Type | Curing Time |
|---|---|
| UV | 2-3 minutes |
| LED | 30-60 seconds |
This data clearly shows the significant difference in curing time between UV and LED nail lamps. For those who value speed and efficiency, LED lamps may be the better choice. However, it’s important to consider other factors such as cost and long-term performance.
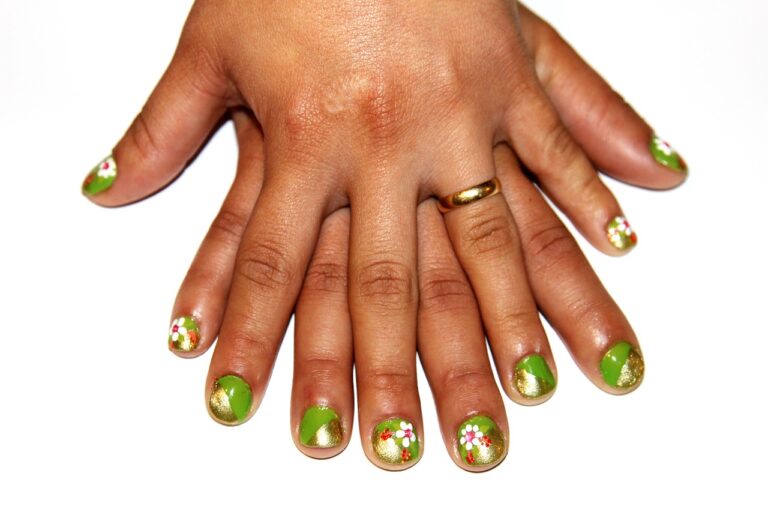
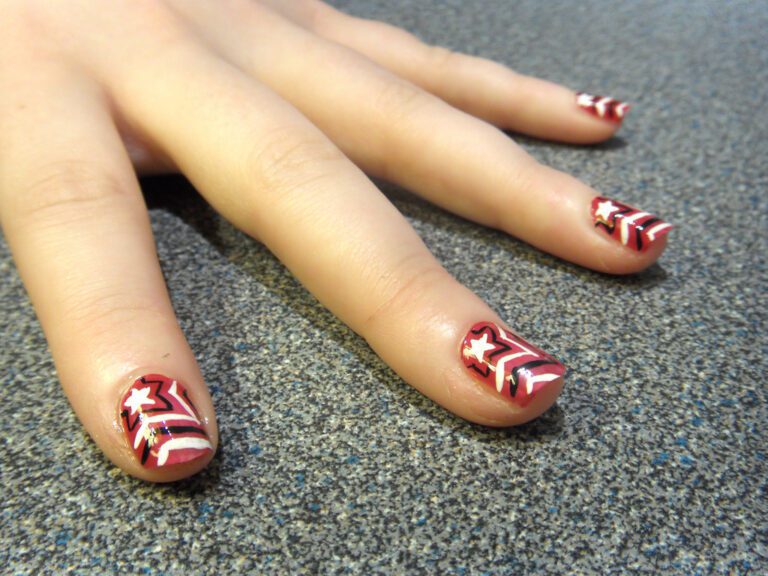
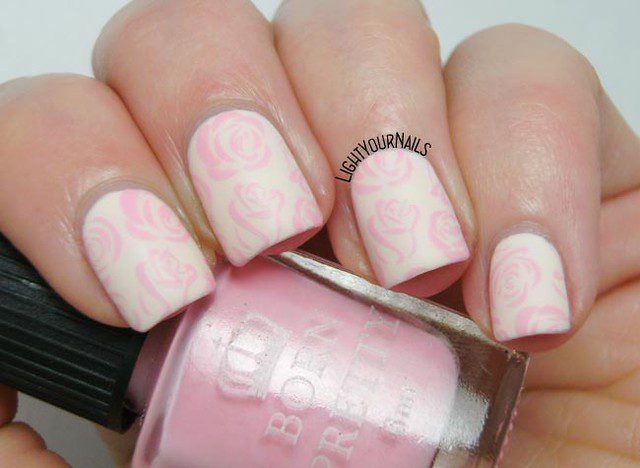
Intricate Designs and Embellishments

Implementing Nail Art
The journey from a simple manicure to a piece of nail art is a transformative process that requires skill, patience, and a flair for creativity. Implementing nail art begins with choosing a design that complements the client’s style and the occasion. Whether it’s a subtle accent or a full set of detailed patterns, the design must align with the client’s vision.
To ensure precision and longevity, the right tools are essential. Fine brushes, dotting tools, and stencils are just a few of the instruments that can bring a design to life. Here’s a quick guide to some common nail art tools:
- Fine-tipped brushes: For intricate lines and details
- Dotting tools: To create perfect dots and circles
- Stamping kits: For consistent patterns across nails
- Sponges: For gradient or ombre effects
Tip: Always practice the design on a nail wheel or a piece of paper to perfect your technique before applying it to the nails.
After the design is applied, it’s crucial to allow each layer to dry completely before proceeding. This patience ensures that the art remains crisp and doesn’t smudge, maintaining the professional quality of the work.
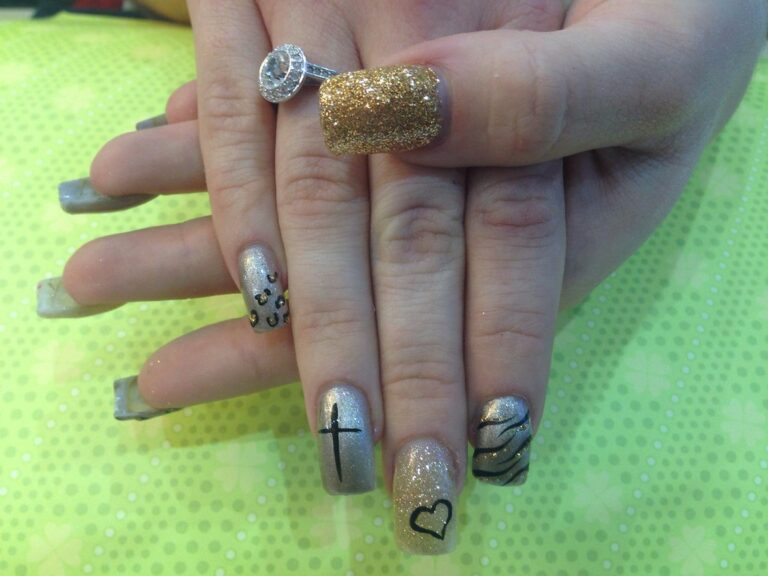
Working with Accessories and Gems
When working with accessories and gems, it’s essential to consider the overall design and aesthetic appeal. Attention to detail is key, as it can elevate the entire look of the nails. To ensure a cohesive and visually stunning result, it’s important to select accessories and gems that complement the chosen nail art style. Additionally, incorporating a variety of textures and sizes can add depth and dimension to the design. For a professional finish, carefully place each accessory or gem using precision tools to achieve the desired effect. Remember, the goal is to create a captivating and unique nail design that reflects individual style and creativity.
Sealing the Design
Once the intricate details of nail art are in place, it’s crucial to seal the design to ensure longevity and protect the artwork. A high-quality top coat acts as a shield, preventing chips and scratches that can mar the beauty of the nails.
- Apply the top coat with care, ensuring to cover the edges and tips of the nails, which are prone to wear. Allow ample time for the top coat to dry, as rushing this step can lead to smudges or dents in the design.
Remember: Patience is key when sealing nail art. A well-applied top coat not only enhances the shine but also secures the design beneath a durable layer.
For those who have chosen 3D elements or accessories, it’s important to use a top coat that is thick enough to encapsulate these features without diminishing their effect. Some technicians prefer to use a handheld UV LED light to quickly cure certain areas, especially when working with textured designs or charms.
The Finishing Touches

Top Coat Application
After the top coat application, it’s essential to ensure a strong and durable finish for your manicure. Applying a layer of super glossy top coat can keep your manicure looking fresh for 7+ days. For added strength and color longevity, consider using a quick drying top coat like the 30-Second Top Coat, which is great for sealing and smoothing your manicure. You can add a layer each day for a strong color all day. Additionally, some top coats include UV filters or color stabilizers that help shield your manicure from the harmful effects of sunlight, acting as a barrier against environmental damage.
For best results, consider reapplying a thin layer of top coat every 2-3 days to maintain the high-gloss and durability of your manicure. This aftercare routine can significantly extend the longevity of your nail polish and keep your nails looking flawless for an extended period.
Tip: Reapply a thin layer of top coat every 2-3 days to maintain the high-gloss and durability of your manicure.
Achieving High-Gloss and Durability
The quest for the perfect high-gloss finish and durability in nail care is akin to the search for the Holy Grail. It’s not just about the visual appeal; a glossy finish also signifies a well-protected nail. To achieve this, the application of a top coat is crucial. This protective layer not only imparts a brilliant shine but also seals in the color, preventing chips and extending the life of the manicure.
When selecting a top coat, consider one that is fast-drying and offers a chip-resistant formula. These qualities are essential for maintaining the manicure’s integrity and ensuring that the nails remain immaculate for as long as possible. Remember, the thicker the layer, the longer it takes to dry, which can lead to smudges. Therefore, apply the top coat in thin, even layers.
Tip: To maximize the longevity of your manicure, apply an additional layer of top coat every few days. This not only refreshes the shine but also adds an extra layer of protection against daily wear and tear.
Incorporating these practices into your nail care routine will ensure that your nails not only look stunning but also withstand the rigors of daily life, keeping them glossy and durable for an extended period.
Aftercare Advice for Long-Lasting Results
After completing your nail treatment, it is essential to follow a proper aftercare routine to maintain the health and beauty of your nails. Moisturizing your nails and cuticles regularly is crucial for preventing dryness and brittleness. Additionally, wearing protective gloves during household chores can help prevent damage to your nails. It is also important to avoid harsh nail polish removers and to file your nails carefully to maintain their strength and shape. Using a strengthening base coat can further enhance the durability of your nails. Finally, scheduling regular appointments for maintenance and cuticle health is recommended to ensure the long-lasting results of your nail treatment.
When it comes to nail art, the finishing touches can make all the difference. At NAILinspire.com, we understand the importance of those final details that elevate your nail designs to the next level. Whether it’s intricate patterns, dazzling embellishments, or eye-catching colors, our ultimate online nail art design library has everything you need to perfect your nail art creations. Explore our collection of inspiring designs, tutorials, and tips to unleash your creativity and take your nail art to new heights. Visit NAILinspire.com today and let your imagination run wild!
Frequently Asked Questions
How long does a typical nail consultation take?
The duration of a nail consultation can vary depending on the complexity of the client’s needs. On average, it can range from 15 to 30 minutes.
What is the best nail shape for my hands?
The best nail shape for your hands depends on the natural shape of your nail beds and your personal preferences. It’s recommended to consult with a nail technician to determine the most flattering shape for your hands.
How often should I get my nails done?
The frequency of nail maintenance depends on individual factors such as nail growth rate, lifestyle, and desired nail appearance. Generally, most people schedule nail appointments every 2 to 4 weeks.
Can nail enhancements damage my natural nails?
When applied and removed properly by a skilled nail technician, nail enhancements such as acrylics or gels should not cause significant damage to natural nails. It’s important to follow aftercare instructions to maintain nail health.
What is the difference between UV and LED nail curing?
UV and LED nail curing are methods used to dry and harden gel polish. UV lamps emit ultraviolet light, while LED lamps use light-emitting diodes. LED curing is generally faster and more energy-efficient than UV curing.
How can I make my nail polish last longer?
To extend the longevity of your nail polish, it’s important to apply a quality base coat, allow each layer to dry thoroughly, and seal the color with a high-quality top coat. Additionally, avoiding activities that can cause chipping or peeling is beneficial.
