“Siding Styles: Nails for Hardie and Vinyl Siding”
When it comes to siding installation, choosing the right nails for Hardie and vinyl siding is essential for a successful and long-lasting project. From understanding the different materials to mastering nailing techniques, this article covers everything you need to know about siding nails. Let’s dive in!
Key Takeaways
- Understanding the differences in composition and durability between Hardie and vinyl siding materials is crucial for selecting the appropriate nails.
- Proper nail placement and nailing patterns are key factors in ensuring the optimal hold and longevity of both Hardie and vinyl siding installations.
- Nail guns offer efficiency, while hand nailing provides precision and control during siding installation.
- Addressing nail issues such as pops, rust, and improper placement is essential for maintaining the integrity and appearance of siding.
- Selecting nails based on climate considerations and preventing weather-related damage is vital for the longevity of siding installations.
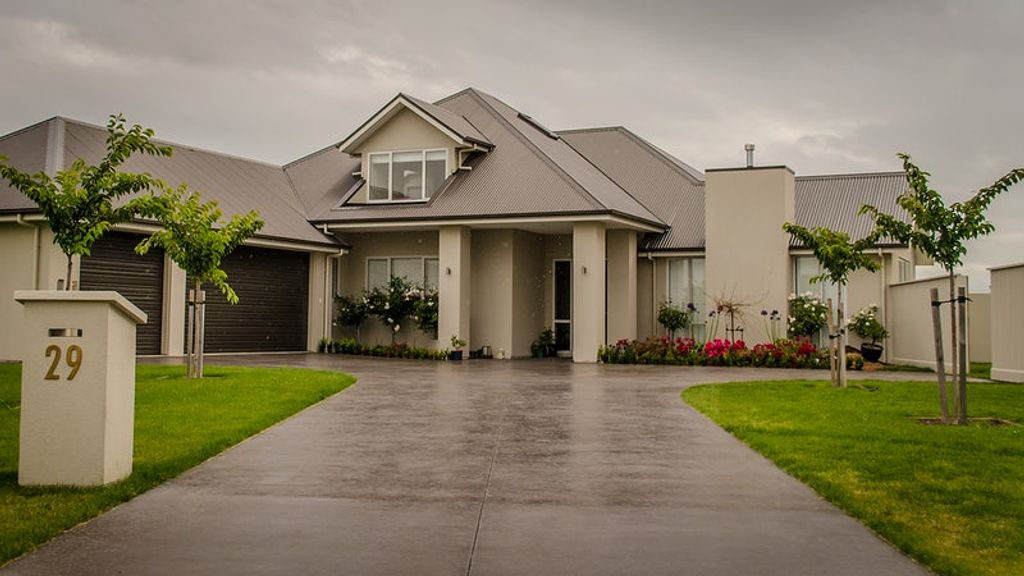
Understanding Siding Materials: Hardie vs. Vinyl

Composition and Durability
When comparing Hardie siding to vinyl siding, it’s essential to consider the composition and durability of each material. Hardie siding, also known as fiber cement siding, is renowned for its robustness and ability to withstand severe weather conditions. It’s composed of a mixture of sand, cement, and cellulose fibers, which contribute to its strength and impact resistance.
Vinyl siding, on the other hand, is made from PVC (polyvinyl chloride) and offers a different set of advantages. It’s lightweight, easy to install, and resistant to rot and decay. However, it may not match the durability of Hardie siding under extreme weather conditions.
Tip: To ensure longevity, consider the local climate and environmental stresses when choosing between Hardie and vinyl siding.
Both materials have their merits, but the choice ultimately depends on the homeowner’s priorities, whether they value durability over ease of maintenance, or vice versa.
Maintenance and Longevity
When it comes to maintenance and longevity of siding materials, it’s crucial to consider the environmental factors and the specific care requirements for each type of siding. Hardie siding, known for its durability, requires regular inspection and cleaning to maintain its integrity. On the other hand, vinyl siding, while low-maintenance, may require more frequent replacement due to its susceptibility to damage from extreme weather conditions. Understanding these differences is essential for ensuring the longevity of your siding investment.
For a quick comparison, here’s a summary of the maintenance and longevity considerations for Hardie and vinyl siding:
| Siding Material | Maintenance | Longevity |
|---|---|---|
| Hardie | Regular inspection and cleaning | Durable, long-lasting |
| Vinyl | Low-maintenance, occasional replacement | Susceptible to weather damage |
It’s important to tailor your maintenance efforts to the specific needs of your siding material, ensuring that it remains in optimal condition for years to come.
Aesthetic Appeal and Color Options
When it comes to the aesthetic appeal of siding, the choice between Hardie and vinyl siding is often a matter of personal preference and the desired look for a home’s exterior. Hardie siding offers a vast array of color options, including popular shades like "Iron Gray," "Aged Pewter," and "Boothbay Blue." These colors can transform the appearance of a home, providing a fresh and modern look that stands out in any neighborhood.
Vinyl siding, on the other hand, also presents a wide selection of colors, but with the added benefit of low maintenance. Unlike Hardie siding, which may require periodic painting, the color of vinyl siding is baked in, which means it resists fading and doesn’t need to be repainted. This can be a significant advantage for homeowners looking for longevity in their color choices without the additional upkeep.
Tip: When selecting siding colors, consider the architectural style of your home and the surrounding landscape to ensure that your choice complements the overall aesthetic.
Ultimately, both siding materials offer benefits in terms of aesthetic appeal, but it’s essential to weigh the maintenance requirements and longevity of color when making your decision.
Essential Nailing Techniques for Hardie Siding

Choosing the Right Nail Type
When it comes to choosing the right nail type for Hardie siding, it’s essential to consider the material and thickness of the siding. Galvanized nails are highly recommended for their corrosion resistance, ensuring long-term durability. Additionally, the length and gauge of the nails should be selected based on the specific requirements of the installation. Here’s a quick reference for nail selection:
| Nail Type | Material | Length | Gauge |
|---|---|---|---|
| Galvanized | Steel | 1.5 in | 11 |
| Stainless | Steel | 2 in | 10 |
| Coated | Aluminum | 1.25 in | 12 |
It’s important to match the nail type with the siding material to ensure a secure and lasting installation. Proper selection of nails is crucial for the structural integrity of the siding.
Proper Nail Placement
Proper nail placement is crucial for ensuring the structural integrity and longevity of Hardie siding. When nailing Hardie siding, it’s important to align the nails with the nailing flange and drive them flush with the surface. This ensures a secure hold and prevents moisture penetration. Additionally, spacing the nails at the recommended intervals helps distribute the load evenly and minimizes the risk of warping or buckling. Here are the recommended nail spacing guidelines for Hardie siding:
| Type of Siding | Nail Spacing |
|---|---|
| HardiePlank | 16 inches |
| HardiePanel | 12 inches |
| HardieShingle | 10 inches |
Remember, proper nail placement is essential for the overall performance and appearance of Hardie siding. A well-executed nailing technique contributes to the durability and aesthetic appeal of the installation.
Tip: Use a nail gun with depth control to ensure consistent and precise nail placement, especially when working with Hardie siding.
Avoiding Common Installation Mistakes
When installing Hardie siding, precision is key. One of the most common mistakes is improper gap spacing which can lead to unsightly finishes and potential damage from moisture intrusion. To avoid this, always follow the manufacturer’s specifications for spacing and remember that gaps should be uniform to ensure a seamless appearance.
Another frequent error is the failure to install a weather barrier correctly. This oversight can result in moisture-related issues, such as mold and rot, compromising the integrity of the siding. It’s essential to ensure that a high-quality weather barrier is in place before proceeding with the siding installation.
Tip: Always double-check your work for accurate cutting and measuring. Inaccurate cuts can not only waste material but also affect the overall stability and look of the siding project.
Lastly, incorrect flashing and caulking can lead to water seepage and damage. Make sure to apply flashing and caulking as per the guidelines, and inspect them regularly to maintain their effectiveness.
Best Practices for Installing Vinyl Siding Nails

Selecting Nails for Vinyl Siding
When selecting nails for vinyl siding, it is crucial to consider the material and coating of the nails. Aluminum and galvanized steel nails are recommended for their resistance to corrosion and durability. It is important to choose nails that are specifically designed for use with vinyl siding to ensure a secure and long-lasting installation. Additionally, the length and diameter of the nails should be suitable for the thickness of the siding material, providing optimal hold and stability.
Nailing Patterns for Optimal Hold
Achieving optimal hold when installing vinyl siding is crucial for the longevity and performance of the siding. The key is to use a nailing pattern that allows for both secure attachment and necessary movement due to temperature changes. Typically, nails should be placed in the center of the nailing slots and spaced at a maximum of 16 inches apart. It’s important to slightly loosen the nails to allow for expansion and contraction.
- Start at the base of the wall and work upward, ensuring that each successive panel locks firmly into the one below.
- Nails should be driven straight and level to prevent distortion of the siding panels.
- Avoid nailing too tightly; the head of the nail should be flush with the siding, not pushing into it.
Tip: Always leave a small gap, about the thickness of a dime, between the nail head and the siding to allow for expansion.
By following these guidelines, you can ensure that your vinyl siding will withstand the elements and remain aesthetically pleasing for years to come.
Temperature Considerations During Installation
When installing vinyl siding, it’s crucial to consider the impact of temperature on the materials. Vinyl siding expands and contracts in response to temperature fluctuations, so it’s important to account for this movement during installation. To ensure the siding performs optimally, leave a small gap between the siding and trim pieces to accommodate for thermal expansion and contraction. This will help prevent warping and buckling of the siding over time. Additionally, mild weather conditions, such as those in spring, can provide an ideal climate for vinyl siding installations, as the moderate temperatures minimize excessive expansion or contraction of the materials.
Tools of the Trade: What You’ll Need for Siding Installation

Nail Guns vs. Hand Nailing
When it comes to siding installation, the choice between using a nail gun and hand nailing is crucial. Nail guns offer speed and efficiency, particularly for large projects where time is of the essence. They allow for rapid, consistent nail placement, which can enhance the overall uniformity and strength of the siding installation.
On the other hand, hand nailing provides a level of precision and control that some professionals prefer. It can be especially useful in delicate areas or when working with materials that are prone to splitting. While it is more time-consuming, it allows for a tactile sense of the material and a more deliberate approach to nailing.
- Consider the following when choosing between the two methods:
- The scale of the project
- The type of siding material
- The level of precision required
- Personal preference for tool use
Tip: Always ensure that the nails used are compatible with the siding material and that they are driven in at the correct depth to avoid damage and ensure a secure hold.
Safety Equipment for Siding Projects
When undertaking siding installation, prioritizing safety is paramount. Essential safety equipment includes hard hats, safety glasses, and gloves, which protect against common hazards such as falling debris and hand injuries. For elevated work, a sturdy scaffold or ladder is necessary, with scaffolding often providing a more stable platform.
Proper footwear should not be overlooked; it’s crucial for maintaining balance and preventing slips. Additionally, hearing protection is advisable when using loud power tools. Here’s a quick checklist of safety gear:
- Hard hats
- Safety glasses
- Gloves
- Scaffold or ladder
- Non-slip boots
- Ear protection
Tip: Always inspect your safety equipment before starting a project to ensure it’s in good condition and provides adequate protection.
Measuring and Cutting Tools
When it comes to installing siding, precision is key. Accurate measuring and cutting tools are essential for ensuring that each piece of siding fits perfectly, maintaining the aesthetic integrity of the home’s exterior. A tape measure, square, and level are the foundational tools for precise measurements. For cutting, options vary depending on the material.
For Hardie siding, a specialized siding blade on a circular saw is often used to handle the material’s rigidity. On the other hand, vinyl siding can be cut with tin snips or a utility knife for straight cuts, and a snap lock punch is useful for creating tabs in the cut edges that lock into the utility trim.
Tip: Always double-check measurements before cutting to minimize waste and ensure a professional finish.
Here is a list of the basic tools required for measuring and cutting siding:
- Hammer
- Tin Snips
- Tape Measure
- Square
- Chalk Line
- Level
- Utility Knife
- Shears
- Snaplock Punch
- Three-Hole Punch
For more intricate work, such as cutting around corners and edges, tin snips provide greater control. It’s also worth considering investing in a siding mounting kit, which can be a time-saving addition to your toolset, especially when working with wood or LP siding.
Troubleshooting Common Siding Nail Issues

Dealing with Nail Pops
Nail pops are a common issue that can occur with siding installation. These occur when the nail pushes the siding out, creating a visible bump. To address nail pops, carefully remove the affected nail and replace it with a longer nail to secure the siding properly. Additionally, ensure that the nail is driven into a solid part of the wall to prevent future nail pops. Lastly, consider using a nail set to countersink the nail head for a smoother finish.
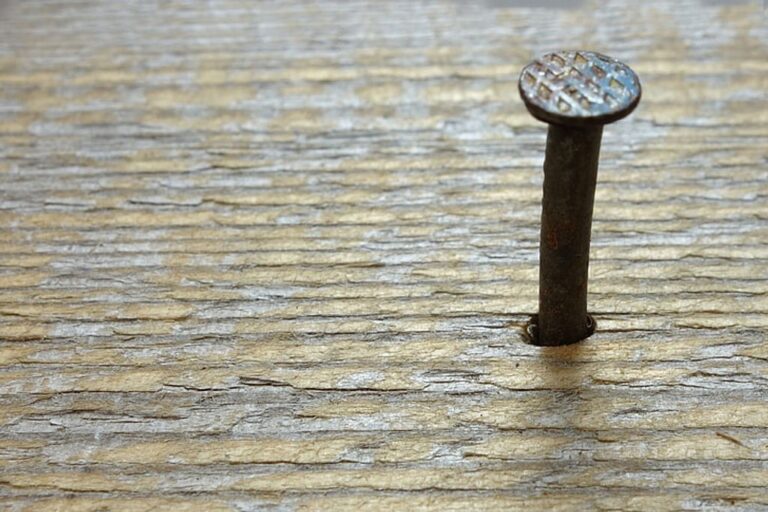
Addressing Rust and Corrosion
When it comes to preventing and addressing rust and corrosion on siding nails, the choice of material is paramount. Stainless steel nails are highly recommended for their resistance to rust and corrosion, ensuring the longevity of your siding. For coastal areas or places with high humidity, opting for hot-dipped galvanized nails can provide an extra layer of protection against the elements.
Regular inspection is key to early detection of rust. If rust is spotted, immediate action is required to prevent further damage. This may involve removing the affected nail, treating the area with a rust-inhibiting solution, and replacing it with a new, corrosion-resistant nail.
Tip: Always ensure that the replacement nails are compatible with your siding material to maintain structural integrity and aesthetic consistency.
For a comprehensive approach to rust prevention, consider the following steps:
- Use appropriate nails from the start to minimize the risk of rust.
- Apply a protective coating to nails if they are not already treated.
- Keep the siding clean and free of debris to reduce moisture retention.
- Schedule periodic maintenance checks, especially after severe weather conditions.
Fixing Improper Nail Placement
Improper nail placement can lead to structural weaknesses and compromised integrity of the siding. It’s crucial to address this issue promptly to prevent further damage. One common consequence of improper nail placement is the risk of siding leaks, which can cause water damage and mold growth. Additionally, addressing improper nail placement may involve repositioning the nails to ensure proper alignment and support for the siding panels. It’s important to carefully inspect the placement of nails during installation to avoid this issue altogether.
The Impact of Climate on Siding Nail Choices

Understanding Thermal Expansion
Understanding thermal expansion is crucial when selecting nails for siding installation. The fluctuation in temperature can cause materials to expand and contract, putting stress on the nails and the siding. It’s important to choose nails that can withstand these changes and provide a secure hold throughout the seasons. Additionally, considering the thermal expansion properties of the siding material is essential for long-term durability and maintenance. Proper nail selection based on climate conditions is key to preventing weather-related damage and ensuring the longevity of the siding installation.
Selecting Nails for Different Climates
When it comes to selecting nails for different climates, understanding the impact of weather conditions on materials is crucial. In areas with high humidity or coastal regions, corrosion resistance is key. Hot dipped galvanized nails, which undergo a thorough galvanization process for a thicker zinc coating, are often recommended for their durability against rust.
For colder climates, where temperature fluctuations can cause materials to contract and expand, nails that can withstand these changes without compromising the siding’s integrity are essential. It’s important to consider the thermal expansion properties of the nails to prevent future issues such as nail pops or siding warping.
- Hot dipped galvanized nails for humid or coastal climates
- Nails with high thermal expansion tolerance for cold climates
Tip: Always account for the local climate when choosing siding nails to ensure long-term performance and avoid costly repairs.
Preventing Weather-Related Damage
To ensure the longevity of your siding, it is crucial to consider the impact of weather when choosing and installing nails. Thermal expansion can cause siding materials to contract and expand, leading to potential damage if not properly accounted for. Here are some tips to prevent weather-related damage:
- Use nails that are designed to accommodate the expansion and contraction of siding materials.
- Leave a slight gap between the nail head and the siding to allow for movement.
- Choose nails with a corrosion-resistant coating to prevent rust in humid or coastal climates.
Tip: Always refer to the manufacturer’s guidelines for the recommended nail type and installation method to ensure optimal performance and warranty compliance.
By following these practices, you can protect your siding from the harsh effects of climate variations and maintain its structural integrity over time.
When it comes to choosing siding nails, the impact of climate cannot be overlooked. The right nail choice is crucial for ensuring the durability and longevity of siding in various weather conditions. At NAILinspire.com, we understand the importance of selecting the right nails for your siding projects. Our comprehensive library of nail art designs and expert advice can help you make informed decisions. Visit NAILinspire.com today to explore our collection of siding nail options and take your projects to the next level.
Frequently Asked Questions
What are the best nails for Hardie siding?
The best nails for Hardie siding are hot-dipped galvanized nails or stainless steel nails. These materials are resistant to rust and corrosion, making them ideal for use with Hardie siding.
Can I use regular nails for vinyl siding?
It is not recommended to use regular nails for vinyl siding. Instead, use nails specifically designed for vinyl siding, such as aluminum or stainless steel nails. These nails are less likely to cause damage to the siding and provide better durability.
How do I prevent nail pops in my siding?
To prevent nail pops in your siding, make sure to drive the nails straight and flush with the surface. Additionally, avoid overdriving the nails, as this can lead to nail pops over time. Using the correct nail type and spacing can also help prevent nail pops.
What safety equipment is necessary for siding projects?
Safety equipment necessary for siding projects includes eye protection, gloves, and a dust mask. Additionally, if using power tools, ear protection is recommended. It’s important to prioritize safety when working with siding materials and tools.
What are the best practices for measuring and cutting tools?
The best practices for measuring and cutting tools include using a sharp utility knife or siding shears for cutting, and a tape measure and speed square for accurate measurements. It’s important to ensure that the cutting tools are sharp and in good condition for clean and precise cuts.
How do I choose the right nail gun for siding installation?
When choosing a nail gun for siding installation, look for a pneumatic nail gun with adjustable depth control. This type of nail gun allows for precise nail placement and depth adjustment, which is essential for proper siding installation.


