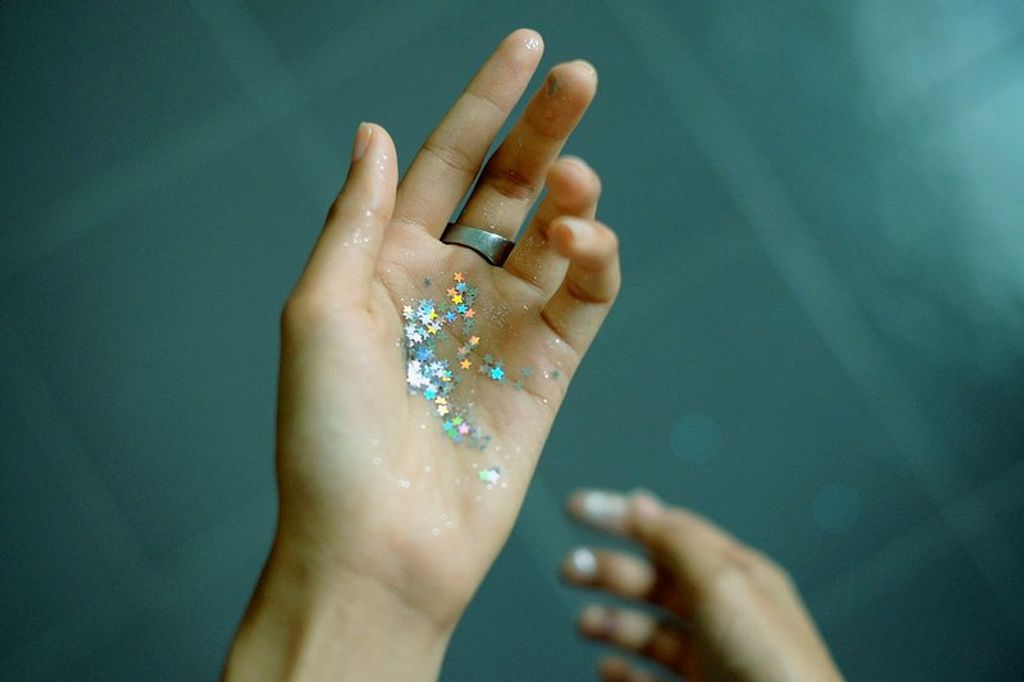
“Glitter Glam: Nails to Put Glitter On”
In the world of nail art, glitter nails are a popular choice for adding sparkle and glamour to your manicure. From choosing the right glitter to applying it with precision, there are various techniques and tips to achieve dazzling results. This article will guide you through the process of creating stunning glitter nails, from preparation to maintenance, and provide innovative nail art ideas to elevate your glam game.
Key Takeaways
- Understanding the differences between fine and chunky glitter is essential for achieving the desired nail look.
- Consider color theory when choosing glitter for your nails to create harmonious and eye-catching designs.
- Explore holographic and iridescent glitters to add dimension and depth to your nail art.
- Nail health is crucial for a successful glitter manicure, so prioritize nail care and maintenance.
- Selecting the right top coat and sealants can enhance the longevity and shine of your glitter nails.
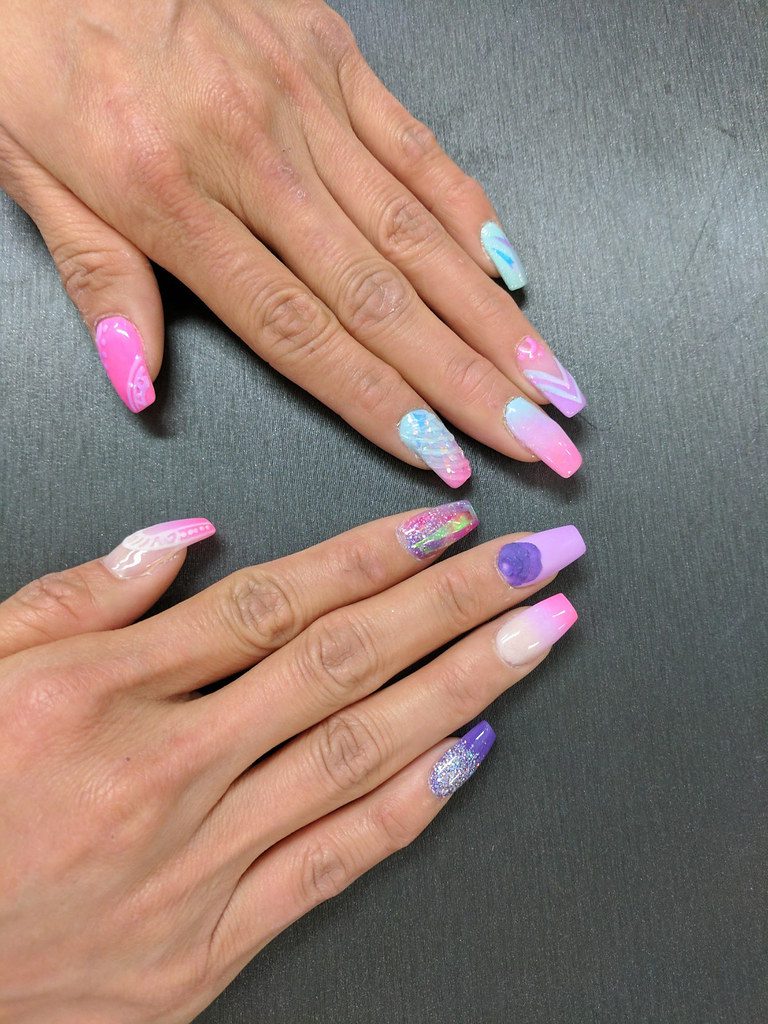
The Sparkling Spectrum: Choosing Your Glitter

Fine vs. Chunky Glitter: Understanding the Basics
When diving into the world of glitter nails, one must first comprehend the difference between fine and chunky glitter. Fine glitter, with its minuscule particles, offers a subtle shimmer that enhances the nails with a sophisticated sparkle. On the other hand, chunky glitter consists of larger flakes that create a bold and eye-catching statement.
Fine glitter is often preferred for a more professional or understated look, while chunky glitter is the go-to choice for a night out or a festive occasion. It’s important to consider the event and the overall look you’re aiming for when selecting the type of glitter.
Tip: Always test the glitter on a small area of the nail to see how it reflects light and complements your skin tone before committing to a full manicure.
The application process also differs between the two. Fine glitter can be easily applied with a brush and tends to distribute more evenly, whereas chunky glitter may require a bit more patience and technique to achieve the desired placement and coverage.
Color Theory for Glitter Nails
Understanding color theory can elevate your glitter nail designs from pretty to mesmerizing. When selecting glitter colors, consider the message you want to convey. Warm colors like reds and oranges evoke energy and passion, making them perfect for a night out or a festive occasion. On the other hand, cool colors such as blues and greens create a calming effect, ideal for a serene look.
Complementary colors can make your glitter nails pop. For instance, pairing a purple glitter with a yellow base can create a striking contrast. Similarly, analogous colors, which are next to each other on the color wheel, offer a harmonious blend. A gradient of pink to orange glitter can give a soft, sunset effect.
Tip: Always consider the undertone of your skin when choosing glitter colors. Golds and bronzes can look stunning on warm undertones, while silvers and blues may complement cooler undertones better.
Remember, the goal is to enhance your natural beauty and express your individuality through your nail art. Experiment with different hues and textures to find the perfect glitter combination that reflects your personal style.
Holographic and Iridescent Glitters: A Guide
When it comes to adding a magical touch to your nails, holographic and iridescent glitters are your go-to options. These glitters reflect a spectrum of colors that change with the light, giving your nails an otherworldly shimmer. Holographic glitters, in particular, create a rainbow effect that appears to move as you do, while iridescent glitters offer a more subtle, pearlescent finish.
Choosing the right type of glitter is crucial for achieving the desired effect. Holographic glitters are perfect for a bold, eye-catching look, whereas iridescent glitters are ideal for a more understated elegance. It’s important to consider the size of the glitter particles as well. Larger, chunky particles can create a dramatic impact, while finer glitters will give a more delicate sparkle.
Tip: Always apply glitters over a base coat to enhance adhesion and to make the colors pop.
To maintain the integrity of these special glitters, use a high-quality top coat to seal in the shine. This will not only protect your glitter nails but also extend their longevity. Remember, the key to dazzling holographic and iridescent nails is in the preparation and application. Take your time to apply each layer carefully for a flawless finish.
Prepping Your Canvas: Nail Preparation for Glitter Application

Nail Health: The Foundation of a Good Glitter Manicure
Before you dazzle with glitter, it’s crucial to start with a healthy nail bed. Strong, well-maintained nails not only provide a smoother canvas for your glitter polish but also prevent potential damage from heavy adornment. Begin by ensuring your nails are clean, dry, and free from any oils or residues.
- Hydrate your cuticles and nails with a nourishing oil to prevent brittleness.
- Gently buff the nail surface to create an even base for polish adherence.
- Apply a strengthening base coat to fortify your nails against the weight of the glitter.
Tip: Regularly moisturizing your hands and nails can significantly improve nail health, making them more resilient to the rigors of glitter polish.
Remember, the longevity of your glitter manicure is directly linked to the condition of your underlying nails. By taking the time to prepare your nails properly, you’re setting the stage for a sparkling success that lasts.
The Perfect Base Coat for Glitter Nails
Nail health is the foundation of a good glitter manicure. It is essential to ensure that the nails are clean, dry, and free from any oils or residues. This provides the perfect surface for the glitter to adhere to, ensuring a longer-lasting and more vibrant manicure. Additionally, applying a moisturizing cuticle oil can help nourish the nails and surrounding skin, promoting overall nail health and enhancing the glitter application experience. Remember, healthy nails are the key to dazzling glitter nails!
Glitter Application Techniques for Dazzling Nails

Brushing on the Sparkle: Traditional Methods
Brushing on glitter polish is the quintessential method for achieving that classic sparkle on your nails. It’s straightforward and allows for a controlled application. Begin with a thin layer of glitter polish using the brush that comes with the product. This initial coat should be sparse, providing just a hint of shimmer.
For a more intense sparkle, wait for the first layer to dry, then apply subsequent coats. Each layer should be applied with a light hand to avoid clumping and to ensure even distribution of glitter. Patience is key; allow each coat to dry thoroughly before adding the next.
Tip: To prevent your glitter polish from becoming gloopy, ensure the neck of the bottle is clean and the cap is tightly sealed after each use. This preserves the polish’s consistency and extends its shelf life.
Sponging for Full Coverage: A Step-by-Step Approach
When aiming for full coverage with glitter, the sponging technique offers a seamless and uniform application. Gently dabbing the glitter onto the nail surface ensures an even distribution, creating a mesmerizing sparkle. To master this method, consider the following steps:
Creating Glitter Gradients for a Dynamic Effect
When creating glitter gradients for a dynamic effect, it’s important to consider the color combination and density of the glitter particles. Subtle transitions between colors can create a mesmerizing effect, while a higher density of glitter near the cuticle adds depth and dimension to the nails. To achieve this, consider blending multiple colors or using different sizes of glitter particles to create a captivating gradient. Remember, the key to a stunning glitter gradient is balance and precision. Here’s a simple guide to creating a captivating glitter gradient:
- Start with a base coat that complements the colors of the glitter gradient.
- Apply the lightest color of glitter near the tip of the nail and gradually transition to darker shades towards the cuticle.
- Use a sponge to dab and blend the glitter for a seamless transition.
- Finish with a top coat to seal the gradient and add shine.
Tip: Avoid overloading the sponge with glitter to maintain a smooth and even gradient.
Sealing the Shine: Top Coats and Sealants

Choosing the Right Top Coat for Maximum Glitter
After perfecting your glitter nail design, the final step is to lock in the sparkle with the right top coat. A top coat not only seals your glitter but also enhances its shine and extends the life of your manicure. When selecting a top coat, consider the finish you desire—glossy top coats can amplify the glitter’s radiance, while matte top coats create a unique frosted glitter effect.
Quality is crucial in a top coat for glitter nails. Look for options that are specifically designed to prevent chipping and peeling, ensuring that your glitter stays put for as long as possible. Here are some factors to keep in mind:
- Thickness: A thicker top coat can smooth out the texture of chunky glitter.
- Drying time: A fast-drying top coat minimizes the risk of smudging your design.
- Longevity: Some top coats are formulated for extended wear, which is ideal for glitter nails.
Remember, patience is key. Allow each layer of polish to dry completely before applying the top coat to avoid smudging and to ensure maximum adhesion of the glitter.
Regular maintenance of your glitter nails will also contribute to the longevity of your manicure. Reapplying a top coat every few days can help to maintain the shine and protect against wear and tear.
The Role of Gel Sealants in Glitter Nail Longevity
When it comes to gel sealants for glitter nail longevity, it’s essential to choose a product that provides maximum protection and durability. Look for sealants that offer long-lasting shine and resilience against chipping and peeling. Additionally, consider the curing time and removal process to ensure a convenient and efficient application experience. For a quick comparison, here’s a table summarizing the key features of popular gel sealants:
Innovative Glitter Nail Art Ideas

Incorporating Glitter into Nail Art Designs
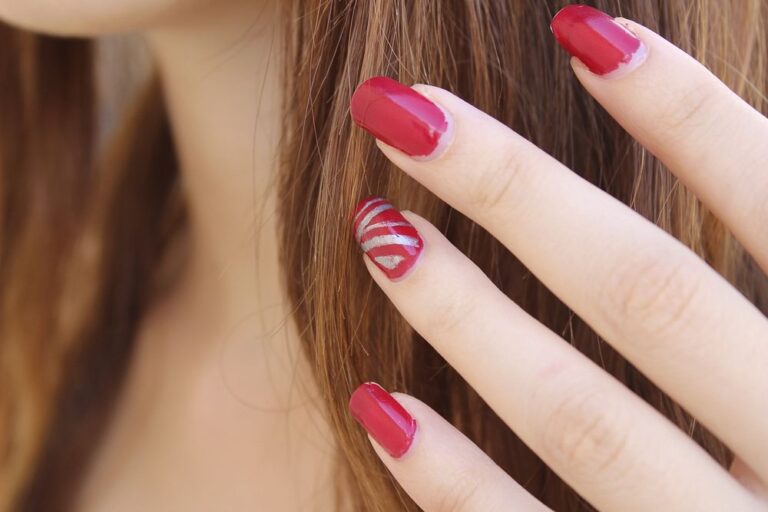
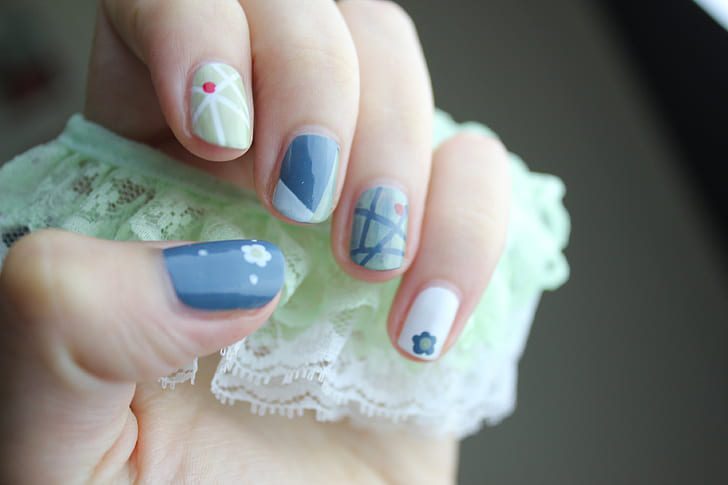
Incorporating glitter into nail art designs elevates the aesthetic to a new level of sophistication and glamour. Whether you’re aiming for a subtle shimmer or a bold statement, the versatility of glitter allows for endless creativity. Here are some ideas to inspire your next glittery masterpiece:
- Elegant Golden Nail Art Designs: Gold glitter adds a touch of luxury to any nail art. Fine glitters give a delicate sheen, while larger flakes can create a more dramatic effect.
- Glitter Encapsulation: This technique involves sealing loose glitter with a clear gel polish for a dazzling and durable finish.
- Ombre Glitter: For a more understated look, try blending glitters from a sheer base to a full coverage tip, creating a magical gradient effect.
Tip: To prevent glitter from overshadowing your design, use it as an accent on one or two nails, or incorporate it into specific elements of your nail art.
Remember, the key to successful glitter nail art is balance. Experiment with different sizes, colors, and placements to find the perfect harmony for your design.
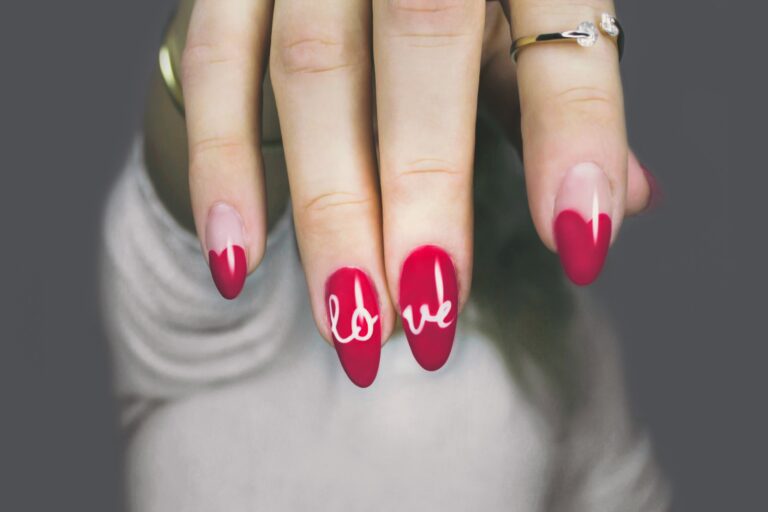
Glitter Accent Nails for a Subtle Sparkle
When it comes to adding a subtle sparkle to your nails, glitter accent nails are the perfect choice. These understated yet eye-catching nails offer a touch of glamour without overpowering your overall look. Whether you’re aiming for a sophisticated aesthetic or a delicate accent, glitter accent nails can elevate your manicure to the next level. To achieve this elegant look, consider the following tips:
- Opt for a neutral base color to complement the glitter accent.
- Choose a fine or chunky glitter based on your desired level of sparkle.
- Experiment with different placement techniques to find the most flattering design.
For a timeless and refined manicure, incorporating glitter accent nails is a surefire way to achieve a subtle yet captivating effect.
Maintaining Your Glitter Glam: Tips and Tricks

Long-Term Care for Glitter Nails
After investing time and effort into achieving stunning glitter nails, it’s essential to maintain their longevity and keep them looking dazzling. Here are some simple yet effective tips for ensuring your glitter nails stay fabulous:
- Gently buff the surface of your glitter nails to maintain their shine and smooth texture.
- Apply a protective top coat every few days to prevent chipping and extend the life of your glitter manicure.
- Avoid exposing your glitter nails to harsh chemicals and cleaning agents, as these can dull the sparkle and cause premature wear.
Remember, proper care and maintenance are key to enjoying your glitter nails for as long as possible.
Removing Glitter Polish Without Damage
When it comes to removing glitter polish without damage, it’s important to be gentle and patient. Start by saturating a small piece of cotton with acetone before resting it atop your fingernail. A big misconception is that you need to use a lot of cotton, but a small piece is sufficient. Allow the acetone to soak into the polish for a few minutes before gently wiping it off. Avoid peeling off the polish as this can damage the top layers of your natural nails, leaving them thin and weakened. If you’re using a gel polish, it’s better to wait for it to naturally chip off rather than peeling it. Here are some important tips to keep in mind:
- Use a small piece of cotton saturated with acetone
- Allow the acetone to soak for a few minutes
- Gently wipe off the polish
- Avoid peeling off the polish
Remember, patience and gentle care are key to maintaining the health of your nails when removing glitter polish.
Maintaining your glitter glam is essential for keeping your nails looking fabulous. With the right tips and tricks, you can ensure that your nail art stays dazzling and eye-catching. At NAILinspire.com, we provide the ultimate online nail art design library, offering a wealth of inspiration and guidance for nail enthusiasts. Visit our website today to discover the latest trends, techniques, and products to elevate your nail game.
Frequently Asked Questions
How do I remove glitter nail polish without damaging my nails?
To remove glitter nail polish without damaging your nails, soak a cotton ball in nail polish remover, place it on your nail, and wrap it with aluminum foil. Leave it on for a few minutes to allow the glitter polish to loosen, then gently remove the foil and wipe off the polish.
Can I use regular top coat over glitter nail polish?
Yes, you can use a regular top coat over glitter nail polish. However, for maximum glitter effect and longevity, it’s recommended to use a thick, high-quality top coat specifically designed for glitter nails.
How can I incorporate glitter into nail art designs?
You can incorporate glitter into nail art designs by using it to create accent nails, adding glitter gradients, or creating intricate designs with glitter as a focal point. The possibilities are endless, and experimenting with different techniques can result in stunning nail art.
What is the best base coat for glitter nails?
The best base coat for glitter nails is a sticky or adhesive base coat that provides a strong foundation for the glitter polish to adhere to. Look for base coats specifically formulated for glitter or textured nail polishes for the best results.
How can I maintain the sparkle of my glitter nails for a long time?
To maintain the sparkle of your glitter nails for a long time, apply a fresh layer of top coat every few days to seal in the glitter and protect it from chipping. Avoid exposing your nails to harsh chemicals and wear gloves when doing household chores to prevent premature wear and tear.
What are the differences between fine and chunky glitter for nail art?
The main differences between fine and chunky glitter for nail art are the size of the glitter particles and the overall effect they create. Fine glitter creates a more subtle and delicate sparkle, while chunky glitter provides a bold and eye-catching look. Both types have their unique uses and can be combined for stunning effects.