“Halfmoon Magic: Nails in Halfmoon Revealed”
Halfmoon nails have long been a symbol of elegance and sophistication in the world of nail art. In this article, we will delve into the secrets of Halfmoon nails, uncovering their history, mastering the technique, exploring creative variations, and learning how to maintain a flawless Halfmoon manicure. Whether you’re a nail enthusiast or a professional manicurist, this guide will provide you with valuable insights into the art of Halfmoon nails.
Key Takeaways
- Mastering the Halfmoon technique requires precision and patience.
- Incorporating colors and textures can elevate the beauty of Halfmoon nail art.
- Proper aftercare is essential for maintaining the longevity of Halfmoon nails.
- Understanding the anatomy of a Halfmoon nail is crucial for achieving the perfect manicure.
- Avoiding common pitfalls can help preserve the integrity of Halfmoon manicures.
Unlocking the Secrets of Halfmoon Nails

The History and Significance of Halfmoon Manicures
The halfmoon manicure, a timeless nail art design, has a rich history that intertwines with the evolution of beauty and fashion. Originating from a period when nail polish was a symbol of social status, the halfmoon style has been a subtle nod to elegance and sophistication. Unlike the full coverage of modern polish techniques, the halfmoon manicure leaves the lunula, or the ‘halfmoon’ at the base of the nail, uncolored, creating a distinctive look that has been adored for decades.
In the early 20th century, the halfmoon manicure became a hallmark of style among the elite. It was a statement of meticulous grooming, often paired with the iconic red lipstick of the era. The design has since evolved, but its essence remains a celebration of the natural nail shape and a testament to the wearer’s attention to detail.
- To achieve the classic halfmoon look, one must be precise and patient.
- The design’s simplicity belies the skill required to execute it flawlessly.
- It’s a style that has been embraced by various cultures and continues to inspire modern nail art.
Tip: Always start with a clean and well-prepped nail bed to ensure the best results for your halfmoon manicure.
Anatomy of a Halfmoon Nail: Understanding the Basics
The allure of the halfmoon manicure lies in its distinctive shape, which pays homage to the natural lunula, or the visible part of the nail matrix. This crescent-shaped area at the base of the nail is a key feature in creating the iconic halfmoon effect.
To achieve the classic halfmoon look, one must understand the structure of the nail. The nail plate is the hard, translucent part of the nail, upon which polish is applied. It rests on the nail bed, and its health is paramount for a smooth manicure. The cuticle, which overlaps the nail plate at its base, should be gently pushed back to reveal the lunula and create a clean canvas for the halfmoon design.
Tip: Always moisturize the cuticle and surrounding skin to maintain the integrity of your halfmoon manicure and prevent polish from adhering to the skin.
While the lunula’s visibility varies from person to person, the halfmoon manicure can be adapted to suit any nail shape or size, making it a versatile choice for nail art enthusiasts.
Mastering the Halfmoon Technique

Essential Tools for Crafting the Perfect Halfmoon
To achieve the iconic halfmoon manicure, one must be equipped with the right tools. The foundation of this elegant nail design lies in precision and care, which can only be attained through the use of quality manicure instruments.
First and foremost, a set of professional nail files is crucial. These files shape and smooth the nail, preparing it for the halfmoon effect. A dual-grit nail file, such as the 100/180 grit, allows for both aggressive shaping and fine finishing.
Next, you’ll need a reliable base coat and top coat to ensure your design lasts. These are the unsung heroes that protect your nails and seal in your artwork. Additionally, a selection of nail polishes in your desired colors will bring your halfmoon vision to life.
For the halfmoon itself, specialized stencils or adhesive guides can help create the perfect curve with ease. These guides are a simple yet effective way to achieve symmetry and consistency across all nails.
Tip: Always start with clean, dry nails to ensure the best adhesion and the cleanest lines for your halfmoon manicure.
Lastly, don’t forget the importance of a steady hand and patience. While the right tools are essential, the finesse of the artist is what truly brings the halfmoon manicure to its full glory.
Step-by-Step Guide to Painting the Halfmoon
Achieving the perfect halfmoon manicure is an art that requires precision and patience. Begin by applying a base coat to protect your natural nail and provide a smooth canvas. Once the base coat is dry, place a reinforcement sticker or a specially designed halfmoon stencil at the base of the nail to act as a guide for your polish.
Apply your chosen polish color above the stencil, ensuring even coverage and crisp lines. Allow the first coat to dry completely before applying a second coat if necessary. Carefully remove the stencil while the polish is still slightly tacky to avoid smudging.
Finish with a top coat to seal in your design and add a glossy shine. Allow ample time for your nails to dry to prevent any dents or smudges. With practice, you’ll master the technique for a stunning halfmoon effect that’s sure to turn heads.
Tips and Tricks for a Flawless Halfmoon Finish
Achieving a flawless halfmoon finish is all about precision and patience. Here are some key tips to ensure your manicure stands out:
- Preparation is crucial. Ensure your nails are clean, filed, and buffed before you start. Any oils or residue can affect the polish’s adherence.
- Apply a clear base coat to protect your nails and create a smooth canvas for your halfmoon design.
- Use nail guides or stickers to create the perfect halfmoon shape. These can be a lifesaver for creating symmetrical and consistent curves.
- When painting, use an ultra-thin brush for the edges to achieve a crisp line. This can make a significant difference in the overall look.
- Patience is key when waiting for layers to dry. Rushing can cause smudges or dents in your design.
Tip: Always finish with a high-quality top coat to seal in your design and add a glossy shine. This not only enhances the appearance but also extends the life of your manicure.
Creative Variations of Halfmoon Nails

Incorporating Colors and Textures into Your Design
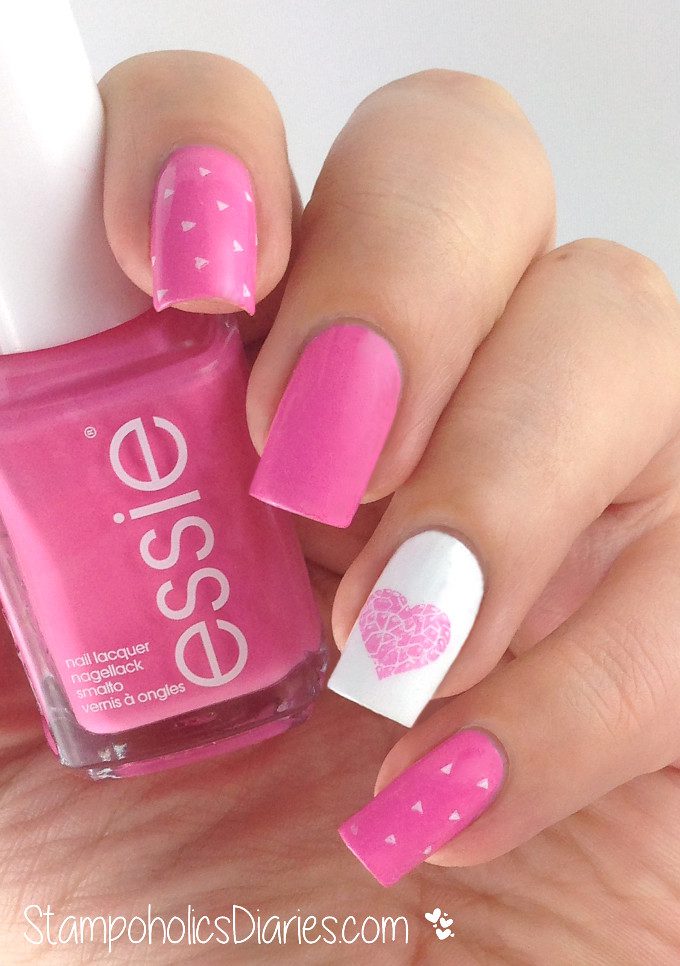
The art of halfmoon manicures transcends the traditional single-color approach, inviting a world of color and texture combinations that can dramatically enhance the overall look. When selecting colors, consider the contrast between the halfmoon and the rest of the nail. A high-contrast pairing, such as black and white, offers a classic and striking effect, while complementary colors can create a harmonious and sophisticated appearance.
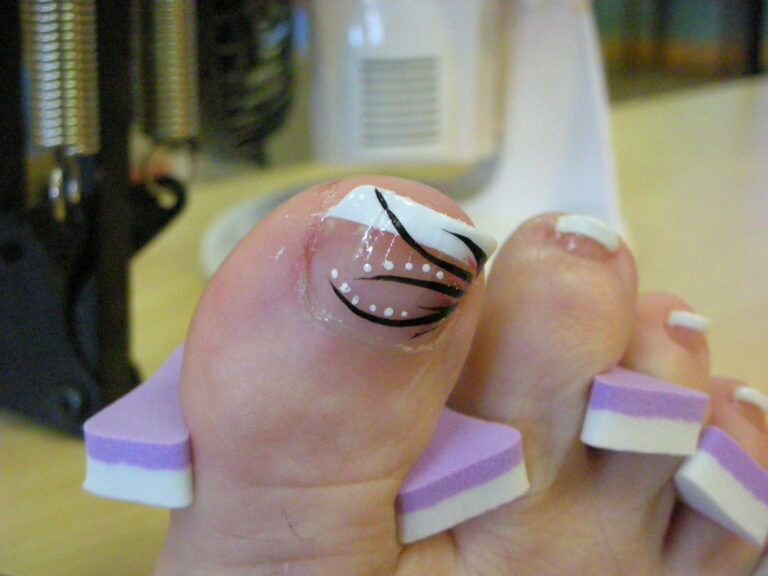
Textures add another dimension to your halfmoon designs. Experiment with matte finishes against glossy backgrounds, or introduce a touch of luxury with metallic or glitter accents. For a more tactile experience, consider embedding small beads or using a cable-knit texture to mimic cozy winter styles.
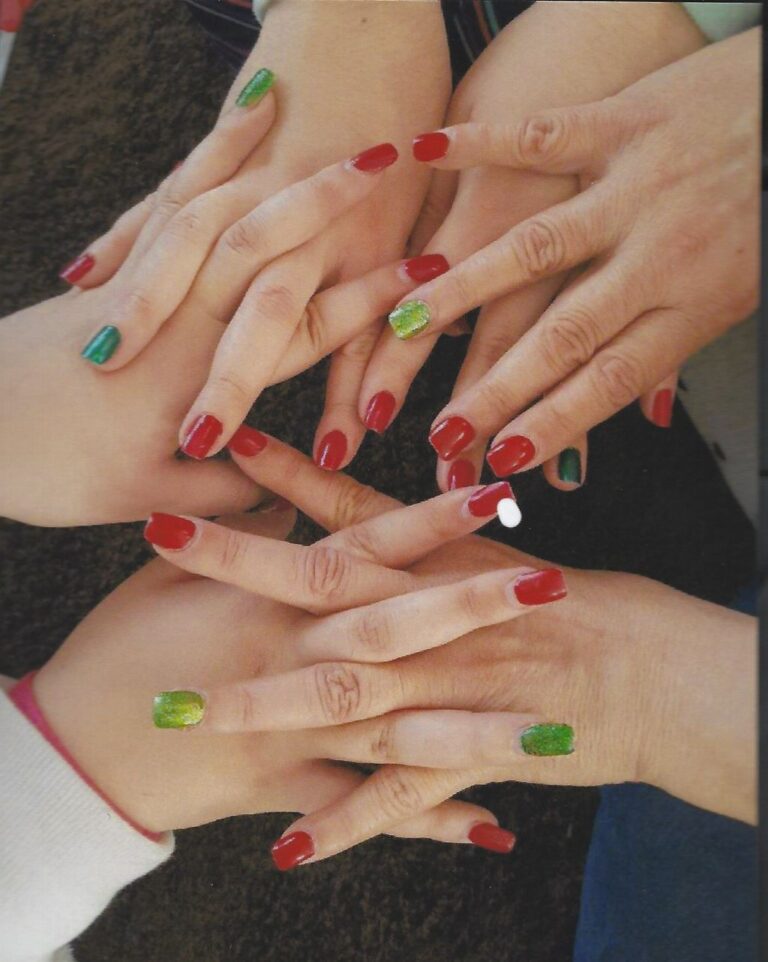
- Contrasting Colors: Black/White, Navy/Yellow, Red/Green
- Complementary Colors: Blue/Orange, Purple/Yellow, Red/Cyan
- Textures: Matte, Metallic, Glitter, Beads, Cable-Knit
Tip: Always remember to balance the visual weight of your design. A heavily textured halfmoon might pair best with a simpler background to avoid overwhelming the nail’s canvas.
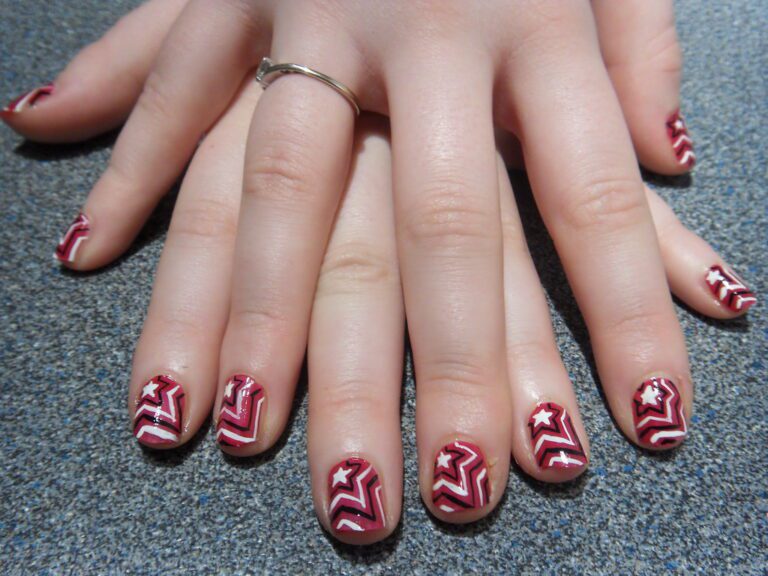
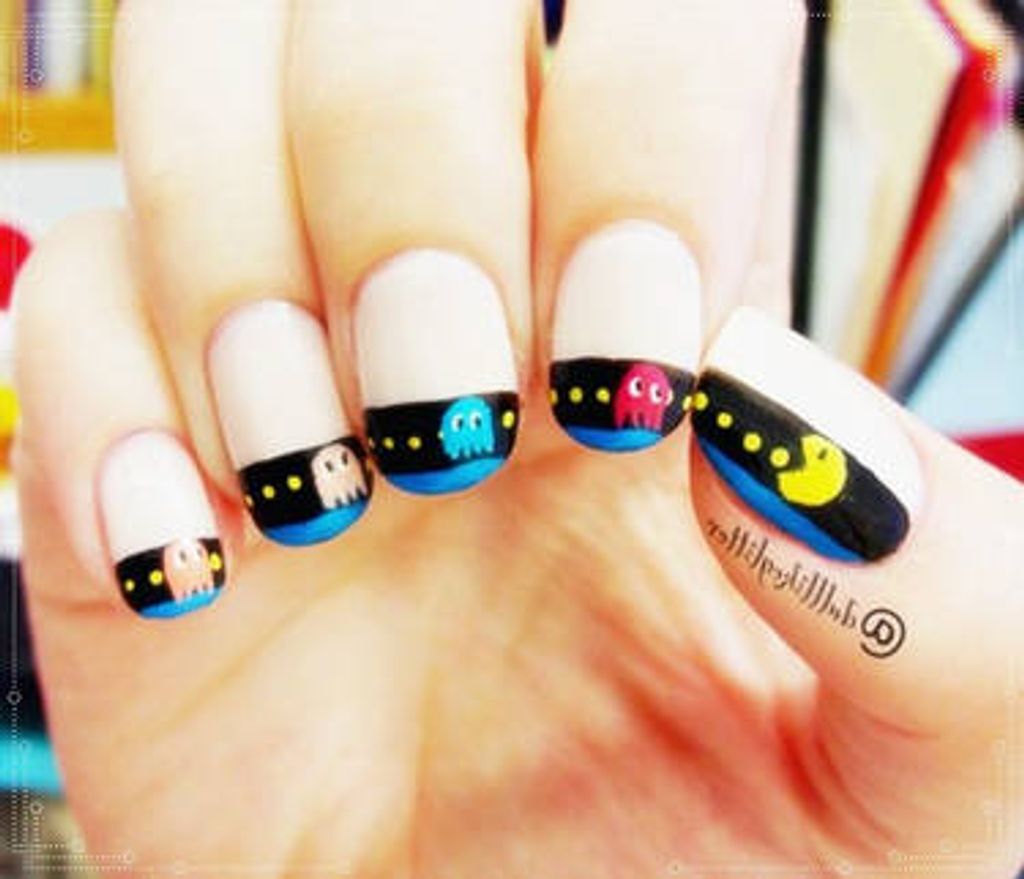
Inspiring Examples of Halfmoon Nail Art
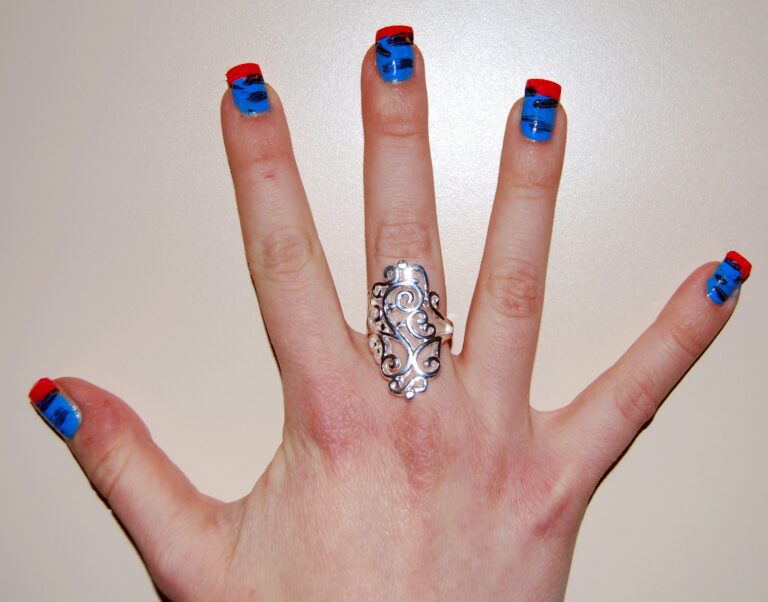
The world of halfmoon nail art is as diverse as it is captivating. With endless possibilities, it’s no wonder that this style continues to enchant nail enthusiasts. From the classic elegance of a simple black and white design to the boldness of incorporating glitter and metallic shades, halfmoon manicures can be tailored to reflect any personality or occasion.
- Camila Cabello’s Black-and-White ‘Vintage Moon’ Manicure
- Abstract Designs with Negative-Space Detailing
- Glitter-Infused Halfmoon for a Sparkling Twist
Remember, the key to a stunning halfmoon nail art is precision. Take your time with the detailing and don’t be afraid to experiment with different colors and textures.
For those looking to draw inspiration from others, websites like Sarah2Nails and Pinkysnailsvip.com offer a plethora of ideas and showcase the creativity that can be achieved with halfmoon designs. Whether you’re a seasoned pro or a beginner, these examples can ignite your creativity and help you elevate your nail art game.
Maintaining Your Halfmoon Manicure

Aftercare Advice for Long-Lasting Halfmoon Nails
To ensure your halfmoon manicure remains as enchanting as the day it was painted, proper aftercare is essential. Moisturization is key; apply a nourishing cuticle oil daily to keep your nails and surrounding skin hydrated and healthy.
Avoid harsh chemicals and excessive water exposure, which can cause the polish to chip or peel prematurely. When performing household tasks such as cleaning, it’s wise to wear gloves to protect your manicure.
Here’s a simple list to help maintain the magic of your halfmoon nails:
- Use a top coat to seal in color and add shine.
- Reapply the top coat every few days to prevent chips.
- Keep nails at a consistent length and shape to avoid breakage.
Tip: Be gentle with your nails. Treat them as jewels, not tools, to preserve the integrity of your halfmoon manicure.
Common Pitfalls to Avoid with Halfmoon Manicures
Achieving the perfect halfmoon manicure is an art that requires precision and care. However, even the most experienced nail enthusiasts can encounter setbacks if certain pitfalls are not avoided. Here are some common mistakes to keep in mind:
- Over-filing the nail can compromise the integrity of the halfmoon shape, leading to an uneven or distorted look.
- Applying polish too thickly can result in bubbles and a longer drying time, which may cause smudges.
- Neglecting the cuticle area can create an untidy appearance and detract from the manicure’s elegance.
Remember, patience is key when painting the halfmoon. Allow each layer to dry completely before applying the next.
In addition to these points, it’s crucial to maintain the health of your nails to ensure the longevity of your manicure. Avoid habits that can weaken your nails, such as biting or using them as tools. When performing household tasks or coming into contact with water, wearing gloves can protect your polish from chipping or peeling. By steering clear of these common mistakes, your halfmoon manicure will not only look stunning but also last longer.
Maintaining your halfmoon manicure is essential for keeping your nails looking fabulous. Regular touch-ups and proper care will ensure that your manicure stays flawless for longer. At NAILinspire.com, we provide a wealth of tips and tricks for maintaining various nail designs, including the halfmoon manicure. Visit our website today to discover the ultimate online nail art design library and take your nail game to the next level!
Frequently Asked Questions
What is a halfmoon nail manicure?
A halfmoon nail manicure is a nail art technique that features a curved, crescent-shaped design at the base of the nail, leaving the rest of the nail exposed. It is a classic and elegant style that has been popular for decades.
What tools are needed to create a halfmoon manicure?
To create a halfmoon manicure, you will need nail polish in the desired colors, nail art brushes or stencils for precision, base coat, top coat, and nail polish remover for clean-up.
Can I create a halfmoon manicure at home?
Yes, with the right tools and practice, you can create a beautiful halfmoon manicure at home. It may take some time to master the technique, but with patience and attention to detail, it is achievable.
How long does a halfmoon manicure last?
The longevity of a halfmoon manicure depends on the quality of the products used and how well it is maintained. On average, a well-done halfmoon manicure can last up to 1-2 weeks with proper care.
What are some common mistakes to avoid when doing a halfmoon manicure?
Common mistakes to avoid when doing a halfmoon manicure include applying too much polish, not allowing each layer to dry properly, and not using a base coat to protect the natural nail.
Can I add embellishments to a halfmoon manicure?
Yes, you can add embellishments such as rhinestones, glitter, or nail art decals to enhance the look of your halfmoon manicure. Just ensure that the embellishments are securely attached and sealed with a top coat for longevity.