“Hardie Heroes: Nails for Hardie Siding”
Hardie siding is a popular choice for homeowners due to its durability, low maintenance, and resistance to fire, moisture, and pests. When it comes to installing Hardie siding, choosing the right nails is crucial for ensuring a secure and long-lasting installation. This article provides an overview of Hardie siding, the types of nails suitable for it, and best practices for installation.
Key Takeaways
- Hardie siding offers durability, low maintenance, and resistance to fire, moisture, and pests.
- Selecting the right nails is crucial for a secure and long-lasting Hardie siding installation.
- When choosing nails for Hardie siding, consider factors such as material, length, and corrosion resistance.
- Proper nailing techniques, including spacing and depth, are essential for a successful Hardie siding installation.
- Preparation for Hardie siding installation involves proper substrate, weatherproofing, and following manufacturer guidelines.
Understanding Hardie Siding and Its Benefits

What is Hardie Siding?
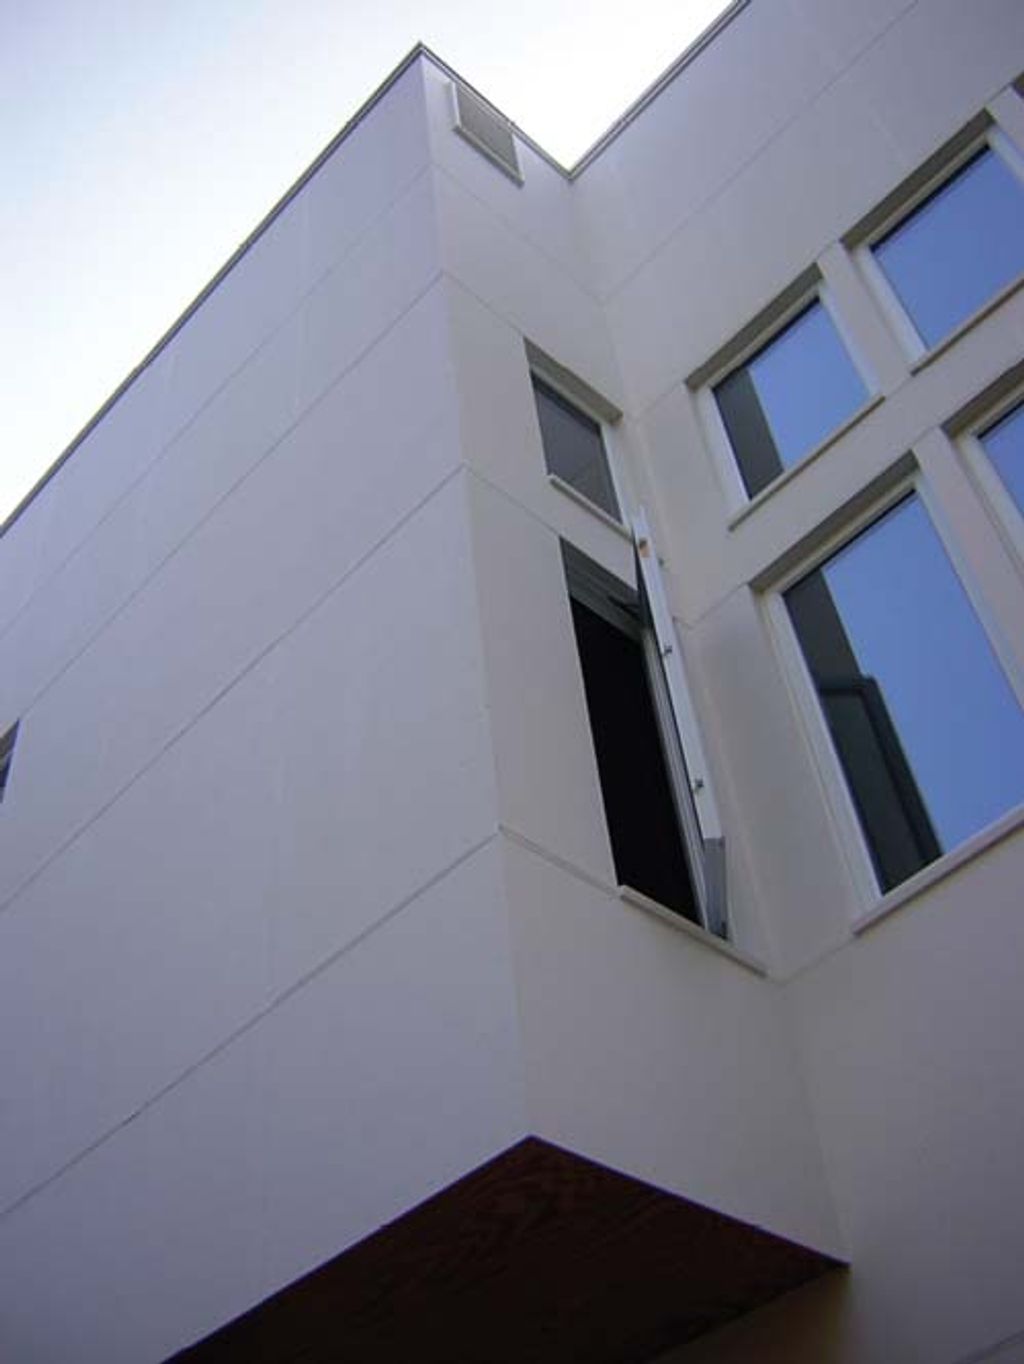
Hardie Siding, commonly known as Hardie Board, is a brand of fiber cement siding produced by James Hardie Industries. It’s a composite material made from a mixture of cement, sand, and cellulose fibers, which creates a durable and long-lasting exterior cladding. Unlike traditional wood siding, Hardie Board is resistant to many of the common problems such as rot, warping, and insect damage.
The popularity of Hardie Siding stems from its ability to mimic the look of wood, brick, or stone, while offering superior resistance to the elements. It is available in a variety of styles and colors to suit different architectural designs. Moreover, Hardie Siding is non-combustible and can withstand extreme weather conditions, making it a safe choice for homeowners.
Installation of Hardie Siding requires specific tools and techniques to ensure optimal performance and aesthetics. It is crucial to follow the manufacturer’s guidelines for installation to maintain the product warranty and achieve the best results.
Tip: Always check for the latest installation guides and product specifications from James Hardie before starting your siding project to ensure compliance with their standards.
Advantages of Hardie Siding
Hardie siding, a brand synonymous with durability and longevity, offers a multitude of benefits for homeowners. Its resistance to fire, pests, and harsh weather conditions makes it an ideal choice for those seeking a low-maintenance yet robust exterior. Not only does it stand up to the elements, but it also comes with the promise of enhanced curb appeal. The availability of a wide range of styles and colors allows for personalization that can complement any home design.
In terms of value, Hardie siding is a wise investment. It can increase the resale value of a home due to its lasting beauty and protective qualities. Moreover, the brand is known for its solid warranties and extensive contractor networks, which provide additional peace of mind to homeowners.
Note: While the initial cost may be higher than some other siding options, the long-term savings in maintenance and potential insurance discounts can offset the upfront investment.
Choosing the Right Nails for Hardie Siding

Types of Nails for Hardie Siding
Selecting the appropriate nails for Hardie siding is crucial for ensuring the longevity and durability of your installation. The most recommended types are hot-dipped galvanized nails or stainless steel nails. These materials are favored due to their resistance to rust and corrosion, which is particularly important in areas with high humidity or coastal environments.
When choosing nails, consider the following:
- The nail’s length should be at least 1 1/4 inches.
- The head diameter should be a minimum of 0.225 inches.
- For pneumatic nailers, use nails that are compatible with the tool’s specifications.
Tip: Always verify the compatibility of the nails with your specific Hardie siding product to avoid any installation issues.
For example, according to a snippet from a document titled ESR-1844 – JAMES HARDIE BUILDING PRODUCTS, INC., Hardie® Architectural Panels (grooved) require 6d siding nails (0.092” SD x 0.222” HD x 2” long) at 6” O.C. along studs and 16” O.C. along top and bottom. This specification highlights the importance of using the correct size and type of nail for optimal adherence and performance.
Factors to Consider When Selecting Nails
When selecting nails for Hardie siding, it’s crucial to consider the corrosion-resistance of the nails. Using nails that are not corrosion-resistant can lead to loosening of the siding and corrosion over time. Additionally, it’s important to ensure the nailing patterns and spacing are correct to prevent any issues with the siding. Implementing the right nailing techniques is essential for the longevity and durability of the siding. Remember, the right nails are the foundation of a successful Hardie siding installation.
Installation Best Practices for Hardie Siding

Preparation for Installation
Before beginning the installation process, it is crucial to ensure that the surface is clean and free of any debris or contaminants. This will provide a smooth and secure base for the Hardie siding. Additionally, careful handling of the siding panels is essential to prevent any damage during the installation process. Once the surface is prepared, the next step is to carefully align and secure the siding panels using the appropriate nails. It is important to use the correct nailing techniques to ensure the durability and longevity of the siding installation. Finally, regular inspection of the installed siding is recommended to identify any issues and address them promptly.
Proper Nailing Techniques
When it comes to proper nailing techniques for Hardie siding, it’s crucial to ensure the nails are driven flush with the surface. This ensures a secure and professional finish. Additionally, using a nail gun with the correct pressure settings can significantly improve the efficiency of the installation process. It’s important to pay attention to the manufacturer’s guidelines for nail spacing and placement to guarantee the structural integrity of the siding. Lastly, always check for any protruding nails and address them promptly to maintain the aesthetic appeal of the siding.
When it comes to installing Hardie siding, following best practices is crucial for a successful and long-lasting result. At NAILinspire.com, we understand the importance of precision and attention to detail in every project. Our comprehensive library of nail art designs and techniques is the ultimate resource for nail enthusiasts and professionals alike. Explore our website to discover the latest trends, tips, and inspiration for your next nail art masterpiece.
Frequently Asked Questions
What are the main benefits of using Hardie Siding?
Hardie Siding is known for its durability, resistance to weather and pests, and low maintenance requirements.
What types of nails are recommended for Hardie Siding installation?
Stainless steel or hot-dipped galvanized nails are recommended for Hardie Siding installation.
How do I determine the right length and gauge of nails for Hardie Siding?
The length and gauge of nails depend on the thickness and installation method of the Hardie Siding. It’s important to consult the manufacturer’s guidelines.
What preparations are necessary before installing Hardie Siding?
Preparations include ensuring a clean and dry substrate, inspecting for proper framing, and following local building codes and regulations.
What are the proper nailing techniques for Hardie Siding installation?
Proper nailing techniques involve using the correct type of nails, spacing them appropriately, and ensuring they are driven flush with the surface of the siding.
Can Hardie Siding be painted?
Yes, Hardie Siding can be painted to achieve the desired color and aesthetic for the exterior of a building.