“Nail Choices: What Nails Should I Get Quiz”
Choosing the right nails for your project can make a significant difference in the outcome. With various nail types, materials, lengths, and coatings available, it’s essential to understand the factors that influence your nail selection. This article will guide you through the key considerations and help you find the perfect nail match for your needs.
Key Takeaways
- Understanding the composition of different nail materials is crucial for selecting the right nail for your project.
- The length and diameter of nails play a significant role in their holding power and stability, respectively.
- Specialty nails, such as ring shank, spiral, and galvanized nails, have specific uses and benefits for different projects.
- Consider the impact of nail finishes and coatings on durability and performance for long-lasting results.
- Nail head shapes and compatibility with nail guns are important factors to achieve a clean finish and efficient installation.
Understanding Nail Types and Materials

The Basics of Nail Composition
Nails are fundamental in various construction and woodworking projects, serving as a simple yet vital component in binding materials together. The composition of a nail is straightforward, typically consisting of a shank, which is the long, slender body that penetrates the material, and a head, which prevents the nail from being driven too deeply.
Steel is the most common material used in nail production due to its strength and durability. However, other materials like aluminum and copper are also used for specific applications where their unique properties are advantageous. For instance, copper nails are often used in roofing due to their resistance to corrosion.
Tip: Always consider the environment where the nail will be used. Outdoor projects may require nails with additional corrosion resistance.
The manufacturing process of nails has evolved to include various coatings and treatments to enhance their performance. These treatments can improve the nail’s grip, resistance to rust, and overall longevity. It’s essential to match the nail’s composition and treatment to the demands of your project for optimal results.
Comparing Steel, Copper, and Aluminum Nails
When selecting the right nail for your project, understanding the differences between steel, copper, and aluminum nails is crucial. Each material offers unique benefits and limitations, making them suitable for various applications.
Steel nails are the most common and are prized for their strength and durability. They are ideal for structural projects where sheer strength is paramount. However, they are prone to corrosion if not treated or used in dry environments.
Copper nails are less common but offer superior corrosion resistance, making them a good choice for outdoor projects and roofing. They are softer than steel, which makes them easier to bend and less likely to split wood.
Aluminum nails are the lightest and are also corrosion-resistant. They are often used in projects that require a lighter touch, such as aluminum siding or trim. However, their softness can be a drawback in high-stress applications.
Consider the following table for a quick comparison of these nail materials:
| Material | Strength | Corrosion Resistance | Weight |
|---|---|---|---|
| Steel | High | Low (unless treated) | Heavy |
| Copper | Medium | High | Medium |
| Aluminum | Low | High | Light |
Tip: Always match the nail material to the environment and stress factors of your project to ensure longevity and stability.
Choosing the Right Nail for Your Project
Selecting the ideal nail for your project goes beyond just picking the right material; it’s about understanding the specific requirements of your task. Consider the environment where the nail will be used, as moisture and temperature can affect its performance. For indoor projects, a standard steel nail might suffice, but for outdoor applications, you may need something more durable like galvanized nails.
When it comes to load-bearing projects, the nail’s length and diameter are crucial. Here’s a simple guide to help you decide:
- Light-duty projects: Use shorter nails with a smaller diameter.
- Medium-duty projects: Opt for medium-length nails with moderate diameter.
- Heavy-duty projects: Choose longer nails with a larger diameter for maximum holding power.
Remember, the right nail can make all the difference in the longevity and stability of your construction. Always match the nail to the material you’re working with and the conditions it will face.
The Role of Nail Length and Diameter

How Length Influences Holding Power
The length of a nail is a critical factor in determining its holding power. Generally, the longer the nail, the greater the grip it has within the material. This is because a longer nail can penetrate deeper, ensuring a more secure attachment. However, the choice of length must also consider the thickness of the materials being joined to avoid protrusion on the opposite side.
- For trim and molding: Use shorter nails to prevent splitting.
- For framing and structural projects: Opt for longer nails for enhanced stability.
Tip: Always select a nail length that is three times longer than the thickness of the top material layer to ensure optimal holding power without unnecessary waste or safety hazards.
It’s essential to balance the length of the nail with the nature of the project. While longer nails provide more holding power, they also increase the risk of wood splitting in thinner materials. Therefore, it’s crucial to choose the appropriate nail length for the task at hand to achieve both strength and a clean finish.
Selecting the Appropriate Diameter for Stability
When it comes to ensuring the stability of your construction, the diameter of the nails you choose plays a pivotal role. A nail that is too thin may not be able to sustain the weight and could bend or break under pressure, while a nail that is too thick could split the material it is being driven into. Therefore, selecting the appropriate diameter is crucial for the integrity of your project.
- Nail Diameter (inches) | Recommended Usage
- ——————— | ——————
- 0.099 – 0.120 | Light framing, trim work
- 0.121 – 0.134 | Standard framing, decking
- 0.135 – 0.148 | Heavy-duty construction, bridging
Tip: Always consider the material’s density and the load it will bear when choosing nail diameter. For hardwood or heavy loads, opt for a larger diameter to ensure a secure hold.
It’s also important to match the nail diameter with the tool you’ll be using. Nail guns, for example, are designed to work with specific nail sizes, and using the incorrect size can lead to jams or damage to the tool. Always refer to the manufacturer’s guidelines to ensure compatibility.
Specialty Nails and Their Uses

Exploring Ring Shank and Spiral Nails
When it comes to construction projects that require enhanced holding power, ring shank and spiral nails are the go-to choices. These nails are designed with a unique threading that increases friction and grip within the wood, making them ideal for applications where strength is paramount, such as patio and deck construction.
Ring shank nails have a series of rings or grooves around the shank, which provide exceptional holding power and reduce the likelihood of nails backing out over time. Spiral nails, on the other hand, feature a twisted shank that functions similarly, ensuring a tight bond that resists movement.
Tip: For outdoor projects, consider using hot-dipped galvanized nails to prevent corrosion and ensure longevity.
Here’s a quick comparison of their applications:
- Ring shank nails: Often used for siding, roofing, and framing where high wind resistance is needed.
- Spiral nails: Commonly selected for decking and fencing where wood expansion can cause other nails to loosen.
Both types of nails are available in various lengths and diameters to suit different project requirements. Selecting the right one will depend on the specific needs of your construction task.
When to Use Galvanized Nails
Galvanized nails are a staple in outdoor and high-moisture environments due to their corrosion resistance. These nails have undergone a galvanization process, typically involving a zinc coating, which shields them from the elements, making them ideal for projects exposed to weather or damp conditions.
- When considering galvanized nails for your project, take into account the following points:
- The proximity to water or humid environments.
- The likelihood of prolonged exposure to the outdoors.
- The presence of corrosive chemicals or salt in the air, especially in coastal areas.
Tip: Always ensure that the hardware used alongside galvanized nails, such as hangers or brackets, is also suitable for resisting corrosion to maintain the integrity of your project.
The Importance of Corrosion Resistance
When selecting nails for any construction or DIY project, understanding the role of corrosion resistance is crucial. Nails that lack this property can deteriorate quickly, compromising the integrity of the structure. Corrosion resistance is especially important in environments that are humid, salty, or chemically active.
Galvanized nails are a popular choice for their protective zinc coating, which shields the nail from moisture and delays rusting. There are different methods of galvanization, such as electric and hot-dip, each offering varying degrees of protection. For projects that demand the utmost durability, stainless steel nails, though more expensive, provide superior resistance to corrosion.
Tip: Always consider the specific environmental conditions your project will face when choosing nails with the appropriate corrosion resistance.
The choice between different corrosion-resistant nails can be guided by the expected lifespan of the project and the potential costs of maintenance or repair. Here’s a simple list to help you understand the common options:
- Galvanized nails: Suitable for general outdoor use.
- Stainless steel nails: Ideal for coastal or high-corrosion areas.
- Aluminum nails: Good for projects with less exposure to harsh conditions.
Nail Finishes and Coatings

Bright, Cement Coated, and Vinyl Coated Options
When it comes to nail finishes, there are several options to consider, each with its own advantages. Bright nails are uncoated and provide a traditional look, while cement coated nails offer enhanced grip and protection against corrosion. On the other hand, vinyl coated nails provide additional protection and are easier to drive into wood. Here’s a brief comparison of these options:
| Finish Type | Advantages |
|---|---|
| Bright | Traditional appearance, versatile |
| Cement Coated | Enhanced grip, corrosion protection |
| Vinyl Coated | Added protection, easy to drive into wood |
It’s important to consider the specific requirements of your project when choosing the right nail finish. For projects that require a traditional appearance, bright nails may be the ideal choice. However, for applications where enhanced grip and corrosion protection are crucial, cement coated nails are a suitable option. Similarly, vinyl coated nails are recommended for projects where added protection and ease of driving into wood are essential. Keep these factors in mind to make an informed decision about the nail finish that best suits your needs.
Understanding the Benefits of Various Coatings
Nail coatings are not just about aesthetics; they play a crucial role in enhancing the performance and longevity of nails. A proper coating can provide corrosion resistance, improve adhesion, and even determine the ease of nail penetration. For instance, bright nails are uncoated and suitable for indoor projects, whereas vinyl-coated nails offer better drivability and are ideal for softer woods.
Bright, cement, and vinyl coatings each serve specific purposes:
- Bright nails are best for interior work where moisture is not a concern.
- Cement coated nails have a layer of resin that improves friction and holding power.
- Vinyl coated nails ensure smoother penetration and are easier to drive.
Tip: Always consider the environment where the nail will be used. For outdoor projects, opt for a coating that provides extra protection against the elements.
Selecting the right coating is essential for the success of your project. It’s not just about the initial application; it’s about ensuring the longevity and integrity of the structure you’re building.
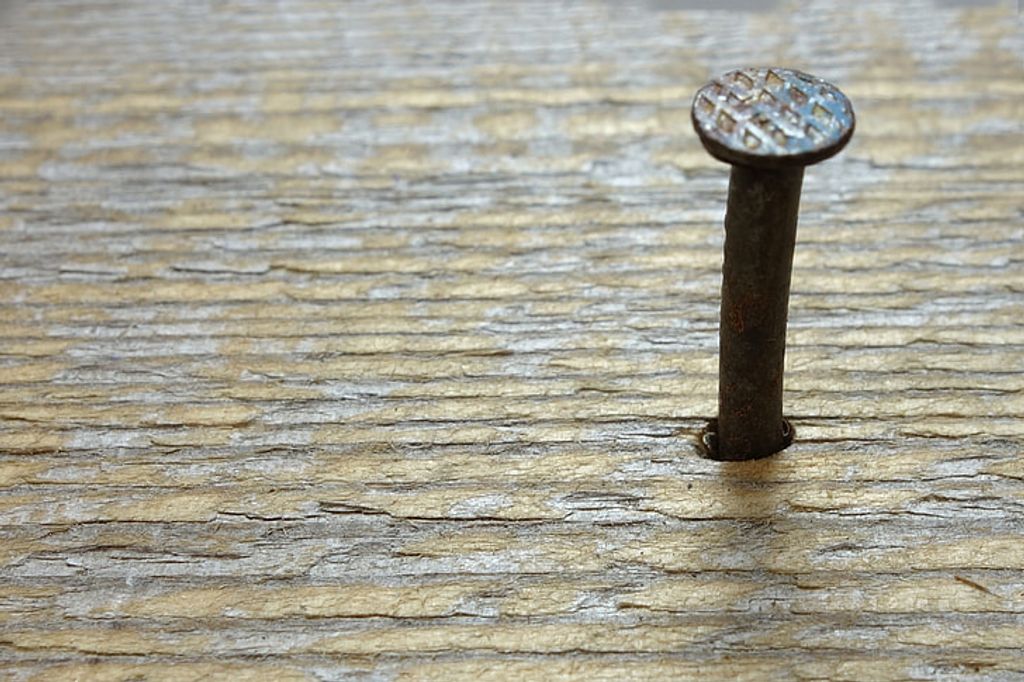
The Impact of Nail Head Shapes

Flat Heads vs. Countersunk Heads
When selecting nails for your project, the head shape can greatly influence the final appearance and functionality. Flat head nails are typically used when the nail head needs to be visible and flush with the material’s surface, providing a clean and finished look. On the other hand, countersunk heads are designed to be driven below the surface, allowing for the nail head to be concealed, which is ideal for applications where a smooth and uninterrupted surface is desired.
- Flat head nails are best for projects where the nail head will remain exposed.
- Countersunk nails are suitable for applications requiring a smooth finish without visible nail heads.
Tip: Always consider the end result you wish to achieve when choosing between flat head and countersunk nails. The right choice can significantly affect the aesthetic and structural integrity of your project.
Choosing the Right Head for a Clean Finish
The head of a nail is critical for ensuring a clean finish in your projects. Flat heads are ideal for applications where the nail needs to be visible and flush with the surface, providing a neat appearance. On the other hand, countersunk heads are designed to be driven below the surface, allowing for the application of wood filler or putty to create a smooth, unblemished finish.
When selecting the right nail head, consider the final look you desire and the material you are working with. Here’s a simple guide to help you decide:
- Flat Head: Best for decorative purposes where the nail is part of the design aesthetic.
- Countersunk Head: Suitable for carpentry or joinery where a smooth surface is required.
Tip: Always pre-drill a pilot hole when working with hardwoods to prevent splitting and to ensure a clean countersink.
The choice between flat and countersunk heads may seem minor, but it has a significant impact on the functionality and finish of your project. Make your selection with the end result in mind to achieve the best possible outcome.
Nail Gun Compatibility

Matching Nails to Your Nail Gun Model
Ensuring that the nails you choose are compatible with your nail gun is crucial for both the efficiency of your work and the longevity of your tools. Each nail gun model is designed to accommodate specific types and sizes of nails, which means using the incorrect nails can lead to frequent jams, tool damage, or even safety hazards.
When selecting nails for your nail gun, consider the following:
- Gauge: The thickness of the nail. Nail guns are typically calibrated for a certain gauge range.
- Angle: The slant at which the nails are collated. Different nail guns require different angles, such as 15, 21, or 30 degrees.
- Length: Nail guns are designed to fire nails of specific lengths. Using nails that are too long or too short can cause malfunctions.
- Type: Some nail guns are made for specific nail types, such as framing, finishing, or roofing nails.
Tip: Always refer to your nail gun’s manual to check the manufacturer’s specifications for nail compatibility. This will save you time and prevent tool damage.
By paying attention to these details, you can ensure that your nail gun operates smoothly and efficiently, reducing downtime and maintaining high-quality workmanship.
The Convenience of Collated Nails
When it comes to nail gun compatibility, the convenience of collated nails cannot be overstated. Collated nails are designed to be fed into a nail gun magazine, allowing for efficient and continuous nailing without the need for manual loading. This feature significantly reduces downtime and increases productivity on the job site. Additionally, the use of collated nails minimizes the risk of misfires and jams, providing a smoother and more reliable nailing experience. For a hassle-free and time-saving nailing process, collated nails are the go-to choice for many professionals and DIY enthusiasts alike.
Environmental Considerations for Nail Selection

Eco-Friendly Nail Choices
In the realm of construction and carpentry, the push for sustainability has led to the emergence of eco-friendly nail choices. These options are designed to minimize environmental impact while still providing the strength and durability required for various projects. One key aspect to consider is the material used in the nail’s production. Nails made from recycled materials or those that are recyclable contribute to a circular economy, reducing waste and conserving resources.
When selecting eco-friendly nails, it’s also essential to consider the manufacturing process. Nails produced with energy-efficient methods or those from companies with a commitment to reducing their carbon footprint align with eco-conscious building practices. Here’s a quick list of factors to consider for eco-friendly nail selection:
- Recycled content percentage
- Recyclability of the nail
- Manufacturer’s environmental policies
- Energy consumption during production
Tip: Always check for certifications or eco-labels that indicate a product’s environmental friendliness, such as the Forest Stewardship Council (FSC) for wood-based products or Energy Star for energy efficiency.
By prioritizing these aspects, you can ensure that your choice in nails not only holds your project together but also supports a healthier planet.
Assessing the Lifecycle of Different Nail Types
When selecting nails for a project, it’s crucial to consider their entire lifecycle. The durability of a nail is affected by various factors, including material composition and exposure to environmental conditions. For instance, nails subjected to repeated wetting and drying may experience diminished withdrawal capacity over time.
- Sustainability* is another key aspect of a nail’s lifecycle. Eco-friendly options, such as those made from recycled materials, can minimize environmental impact. It’s important to balance the need for strength and longevity with ecological considerations.
Tip: Always consider the environmental conditions your nails will face. This will help you choose a type that maintains its integrity throughout its intended lifespan.
Here’s a quick overview of factors to assess when considering the lifecycle of nails:
- Material composition and its resistance to corrosion
- The frequency of exposure to wet and dry cycles
- The potential for reuse or recycling after the initial use
- The manufacturing process and its environmental footprint
Taking the Quiz: Find Your Perfect Nail Match

Personalizing Your Nail Selection
Choosing the perfect nail for your project goes beyond the basic understanding of types and materials; it’s about personalizing the selection to your specific needs. Consider the following aspects to ensure that your choice is tailored to your project:
- The material of the nail should complement the material of your workpiece.
- The length and diameter must be appropriate for the thickness and type of material you’re fastening.
- Specialty nails may be required for projects that demand extra holding power or corrosion resistance.
- The finish or coating of the nail can affect both the appearance and longevity of your work.
Tip: Always match the nail head shape to the desired finish of your project for a clean, professional look.
By taking into account these factors, you can make an informed decision that enhances the durability and aesthetics of your finished project. Remember, the right nail can make all the difference in the success of your endeavor.
Interpreting Your Quiz Results
After completing the quiz, you’ll have a clearer picture of the ideal nail for your specific needs. The results are designed to match your project requirements with the most suitable nail characteristics. Here’s how to make sense of your findings:
- Review the suggested nail types and materials, considering their compatibility with your project.
- Assess the recommended length and diameter for optimal holding power and stability.
- Consider the environmental impact of the suggested nails and whether they align with your sustainability goals.
Remember, the quiz results are a starting point. It’s essential to apply your judgment and consider any unique aspects of your project that may influence the final nail selection.
By understanding the reasoning behind each recommendation, you can make informed decisions that enhance the quality and longevity of your work. If you’re still unsure, don’t hesitate to seek advice from a professional or conduct further research.
Are you ready to find your perfect nail match? Take the quiz and discover the ideal nail art designs that suit your style and personality. Visit NAILinspire.com – The Ultimate Online Nail Art Design Library to explore a wide range of nail art inspiration, tutorials, and tips. Let your creativity shine with our collection of stunning nail designs and trends.
Frequently Asked Questions
What are the best nails for outdoor projects?
For outdoor projects, it’s best to use galvanized nails or nails with corrosion-resistant coatings to prevent rust and corrosion.
What nail length should I use for framing?
For framing, longer nails are generally recommended to provide better holding power. Common lengths for framing nails are 3 inches or longer.
What is the difference between bright, cement coated, and vinyl coated nails?
Bright nails are uncoated and may be used for indoor projects. Cement coated nails have a layer of cement for improved holding power. Vinyl coated nails have a protective vinyl coating for corrosion resistance.
Can I use a nail gun for all types of nails?
Nail guns are designed for specific nail types and sizes. It’s important to match the nails to the nail gun model for safe and efficient use.
Are there eco-friendly nail options available?
Yes, there are eco-friendly nail options such as recycled steel nails or nails made from sustainable materials. These options help reduce environmental impact.
What is the best nail head shape for finishing work?
For finishing work, countersunk heads are often preferred for a clean and flush finish. They can be easily concealed with putty or wood filler.