“Shiplap Serenity: What Nails to Use for Shiplap Chic”
Shiplap is a popular choice for adding rustic charm to interior spaces. In this article, we explore the construction, nail selection, installation techniques, and maintenance of shiplap walls. Whether you’re a DIY enthusiast or a professional carpenter, understanding the nuances of shiplap design and the right nails to use is essential for achieving shiplap chic.
Key Takeaways
- Understanding the basics of shiplap construction is crucial for a successful installation.
- The type of nails used for shiplap should be chosen based on factors such as material, environment, and desired aesthetic.
- Installation techniques for nailing shiplap require precision and attention to detail for a seamless finish.
- Regular maintenance is key to preserving the beauty and longevity of shiplap walls.
- Being proactive in addressing common shiplap issues can prevent larger problems in the future.
Understanding Shiplap Construction

The Basics of Shiplap Design
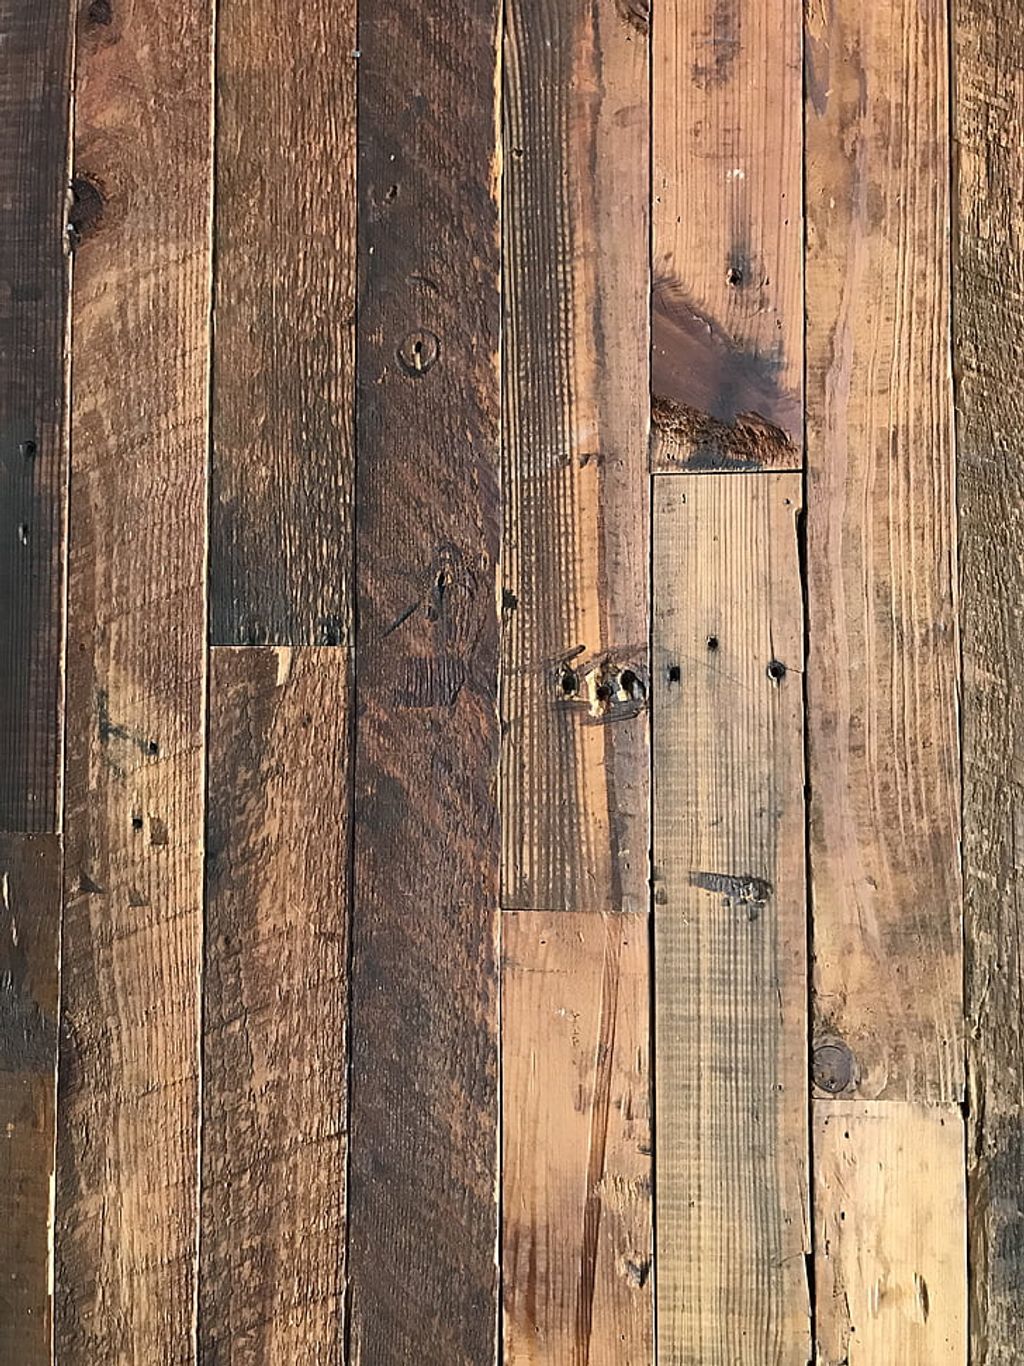
Shiplap is a type of wood paneling with a rabbet (groove) cut at the top and bottom of each board so they overlap to form a tight waterproof seal. This design ensures a secure and durable installation, making shiplap a popular choice for interior and exterior applications. The overlapping boards create a distinctive shadow line that adds depth and visual interest to any space. When considering shiplap installation, it’s essential to understand the construction and design principles to achieve a seamless and stylish result.
Materials and Tools for Shiplap Installation
Gathering the right materials and tools is crucial for a successful shiplap installation. You will need shiplap boards, which can be purchased pre-cut or custom sized to fit your space. The type of wood you choose will affect the overall aesthetic and durability of your shiplap design.
For the installation process, a reliable set of tools will make the job smoother and more efficient. Essential tools include a pneumatic nail gun for secure fastening, a table saw or circular saw for cutting boards to the correct dimensions, and a level to ensure even placement. Additionally, you’ll need a tape measure, stud finder, and construction adhesive for a firm hold.
Tip: Always measure twice and cut once to avoid material waste and ensure a precise fit.
Here’s a quick checklist of tools and materials you’ll need:
- Pneumatic Nail Gun
- Table Saw or Circular Saw
- Level
- Tape Measure
- Stud Finder
- Construction Adhesive
- Shiplap Boards
Remember, the quality of your tools can greatly influence the ease of installation and the final look of your shiplap walls. Invest in good-quality equipment for the best results.
Selecting the Right Nails for Shiplap

Factors Influencing Nail Choice
When selecting the right nails for your shiplap project, several factors must be considered to ensure a durable and aesthetically pleasing result. The length and gauge of the nails are crucial; they must be long enough to secure the shiplap to the framing but not so long that they protrude through the back. Typically, a 2-inch, 16-gauge finish nail is a good starting point.
The material of the nail is also important. Stainless steel or hot-dipped galvanized nails are recommended for their resistance to rust and corrosion, especially in areas with high humidity or direct contact with moisture.
Environmental conditions and the type of wood used for the shiplap will also influence your choice. Hardwoods may require a different nail type than softer woods to prevent splitting. Here’s a quick reference list to guide your selection:
- Length: 1.5 to 2.5 inches, depending on shiplap thickness
- Gauge: 15 or 16 for most applications
- Material: Stainless steel, galvanized, or aluminum
Tip: Always test a few nails on a scrap piece of your shiplap material to ensure they drive cleanly without causing damage.
Comparing Nail Types for Shiplap
When selecting the right nails for shiplap, it’s crucial to compare the different types available. Brad nails and finish nails are commonly used, but they serve different purposes. Brad nails, being thinner and smaller, are ideal for the delicate work of securing shiplap without splitting the wood. Finish nails, on the other hand, are thicker and provide a stronger hold, making them suitable for areas that require more support.
- Brad Nails: Small, thin, less likely to split wood.
- Finish Nails: Larger, thicker, stronger hold.
Tip: Always consider the weight and thickness of the shiplap boards when choosing nails to ensure a secure installation.
It’s also important to take into account the visual finish you desire. If you prefer a nearly invisible nail head, brad nails are the way to go. For areas where the nails may be more visible and a smoother finish is desired, finish nails with a small head can be countersunk and filled for a seamless look.
Installation Techniques for Shiplap Chic

Step-by-Step Guide to Nailing Shiplap
Achieving the perfect shiplap chic involves more than just selecting the right materials; it’s also about mastering the installation process. Here’s a straightforward guide to help you nail your shiplap with precision:
- Measure the wall space and cut your shiplap boards to size, ensuring a snug fit.
- Begin at the bottom of the wall and work your way up, using a level to keep boards straight.
- Apply a thin bead of construction adhesive to the back of each board for extra hold.
- Position the first board in place and secure it with nails. For a traditional look, use two nails per stud.
- Overlap the next board on top, fitting the groove over the tongue of the board beneath.
- Continue this process, checking for level after each board is installed.
Tip: For a flawless finish, use a nail set to countersink the nails slightly below the surface of the wood, and fill any visible nail holes with wood filler.
Remember, the goal is to create a seamless appearance, so take your time and ensure each board is perfectly aligned. The right nail choice is crucial here; opt for finishing nails that are long enough to penetrate through the shiplap and into the studs by at least 1.5 inches. This will provide a secure hold while maintaining the aesthetic integrity of your shiplap walls.
Tips for Achieving a Seamless Finish
After achieving the perfect shiplap chic with seamless finishes, maintaining the tranquility of your space is essential. Regular care ensures that the serene aesthetic of your shiplap walls remains intact over time. Here are some tips to keep in mind:
- Inspect your shiplap walls periodically for any signs of wear or damage. Early detection can prevent minor issues from becoming major problems.
- Clean your shiplap gently with a damp cloth. Avoid harsh chemicals that can strip the paint and damage the wood.
- For painted shiplap, touch-ups may be necessary to cover any chips or scuffs. Use the same paint used initially to ensure a consistent color match.
Remember, the key to long-lasting shiplap beauty is in the details. Paying attention to the small things can make a big difference in the overall appearance and longevity of your shiplap walls.
Maintaining the Serenity: Shiplap Care

Regular Maintenance for Longevity
Regular maintenance is essential for ensuring the longevity and beauty of your shiplap walls. This includes periodic dusting, quick spot cleaning, and avoiding harsh cleaning agents that can damage the wood. Additionally, applying a protective sealant every few years can help preserve the natural charm of the shiplap. When it comes to shiplap care, prevention is key to maintaining its serenity and allure. Remember to inspect for any signs of wear and address them promptly to prevent further damage. Implementing these maintenance practices will help extend the life and appearance of your shiplap walls, allowing you to enjoy their timeless elegance for years to come.
Dealing with Common Shiplap Issues
When it comes to maintaining the pristine appearance of your shiplap walls, addressing common issues promptly is key. One frequent problem is the warping or buckling of boards due to moisture exposure. To prevent this, ensure that your shiplap is properly sealed, especially in areas like bathrooms where humidity levels are higher.
Swelling and shrinking can also occur with changes in humidity. This natural wood movement can be mitigated by acclimating the shiplap to the room’s environment before installation and leaving appropriate gaps during the nailing process.
Tip: Always use a moisture meter to check the wood’s humidity before installation. This can save you from future headaches related to wood expansion or contraction.
Mold and mildew are other concerns, particularly in damp environments. Regular cleaning with mild, non-abrasive cleaners can keep these issues at bay. If mold does appear, address it immediately with a solution of water and vinegar to prevent further spread.
Maintaining the serenity of your shiplap is essential for preserving its beauty and longevity. Proper care and maintenance can ensure that your shiplap remains a stunning feature of your home for years to come. At NAILinspire.com, we understand the importance of shiplap care and offer a wide range of resources to help you keep your shiplap in pristine condition. From cleaning tips to protective coatings, our comprehensive library of shiplap care guides has everything you need to maintain the serenity of your shiplap. Visit NAILinspire.com today and discover the secrets to shiplap care.
Frequently Asked Questions
What is shiplap and how is it constructed?
Shiplap is a type of wooden board used for exterior siding or interior walls. It is constructed by overlapping the edges of the boards to create a tight seal and a decorative effect.
What are the best nails to use for shiplap installation?
The best nails for shiplap installation are galvanized or stainless steel nails that are corrosion-resistant and suitable for outdoor and indoor use. Ring shank nails are also recommended for better grip and durability.
How do I choose the right nails for shiplap installation?
When choosing nails for shiplap installation, consider factors such as the material of the wall, the climate, and the desired aesthetic. It’s important to select nails that will provide a secure and long-lasting hold.
What are the different types of nails suitable for shiplap installation?
Common types of nails suitable for shiplap installation include ring shank nails, finish nails, and brad nails. Each type has its own advantages and is suitable for specific shiplap installation requirements.
What are the recommended techniques for nailing shiplap boards?
The recommended techniques for nailing shiplap boards include using a pneumatic nail gun for efficiency, spacing the nails evenly along the boards, and ensuring the nails penetrate the studs for a secure hold.
How can I maintain the serenity of shiplap walls?
To maintain the serenity of shiplap walls, regular maintenance such as cleaning, inspecting for damage, and addressing any issues promptly is essential. Proper care will ensure the longevity and aesthetic appeal of shiplap walls.